A huge shout out to Hawkrod, for his help on some questions I've had.
BTW: this is just the way I'm doing it, not necessarily the best or fastest.
I found a '79 F250 Lariet at the local wrecking yard, and was able to get the tilt column, and cruise control system. Someone had all ready robbed the carb chain, and cut the power leads (I think in order to scavenge the ignition switch). Those two items should be pretty minimal.
After getting some great information from Hawkrod, I decided to use the original column mounted neutral safety-reverse switch.
Here it is on the '79 column

In order to make the cut, I set both columns side by side on the bench, and took measurements from the rag joint flange back. (10-1/2"). Then drew a line down the top of both columns. You can see that the rectangular hole is offset to the right.
The blue masking tape is laid over the hole on the '72 column after removing the switch and flag. I drew match marks on the tape then used an exacto knife to cut the opening out of the tape. Took the tape off and laid it on the '79 column with the match marks lined up, and with the opening starting 10-1/2" from the rag joint.
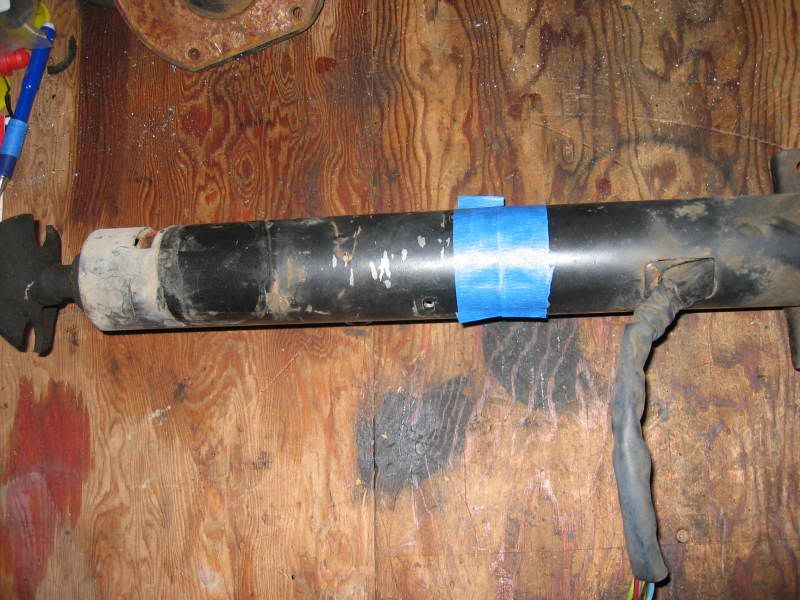

Drilling the flag holes are a bit of fun. Just have to pay close attention to detail here. Here is a Picture of the flag in the '72 column.
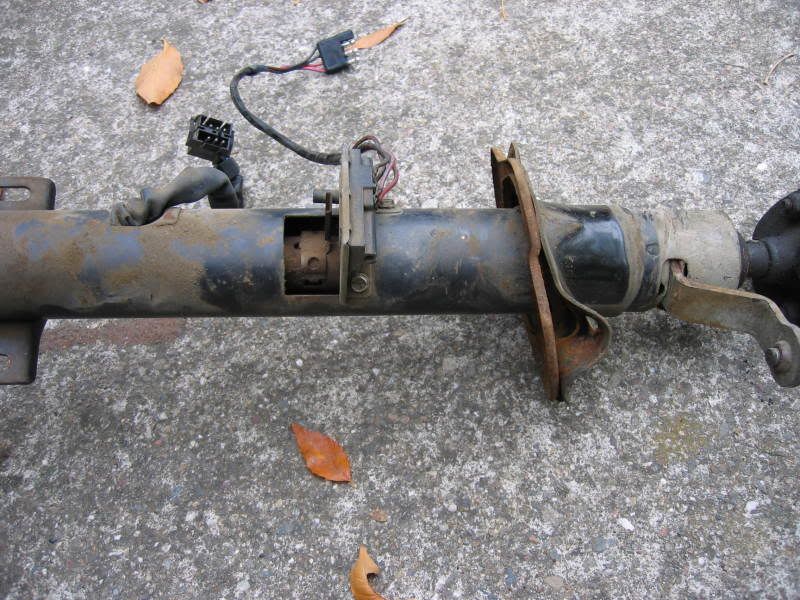
I used a small drill bit to drill the 4 corners of the outer tube, so as not to create stress riser points. Then used a disc to cut out the rectangle
So now the inner shift tube is exposed, and it was just a matter of drilling two elongated holes (one at each end for the flag to attach, and a center locating hole. Shifting the column all the way to 1st gear allowed me to get a center punch in on an angle for the left side hole, and get enough of a divot, that the bit took hold. It's a tight fit, but not difficult. The top locating hole was easy. The right side with the shifter in park was a bit of an angle, but thanks to a good center punch, it went well. The flag needs to be very secure, so after drilling the left elongated hole, I put the flag on the tube and pushed down to really stretch it out. This puts the right side elongated hole far enough away that the flag is very secure. I marked the top center hole at this time.
The switch mounts with two self taping sheet metal screws, and has oblonged slots for adjustment. I put the shifter in reverse, and used the multi-meter to find the center of the switch contacts, and marked the tube. Drilled the holes then mounted the switch and adjusted.
Found out the switch is pretty worn out, and I have just ordered an OEM NOS switch, But as you can see in these two pictures, it still functions:
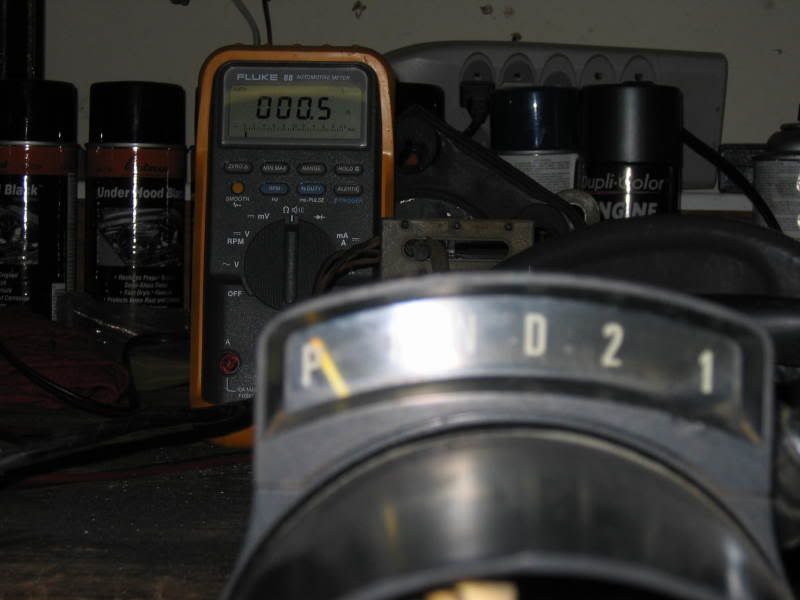
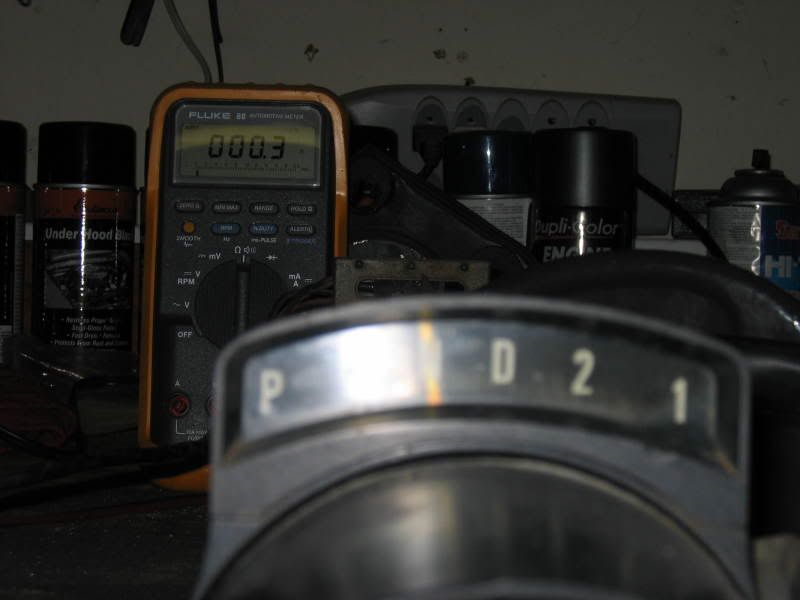
Wiring time
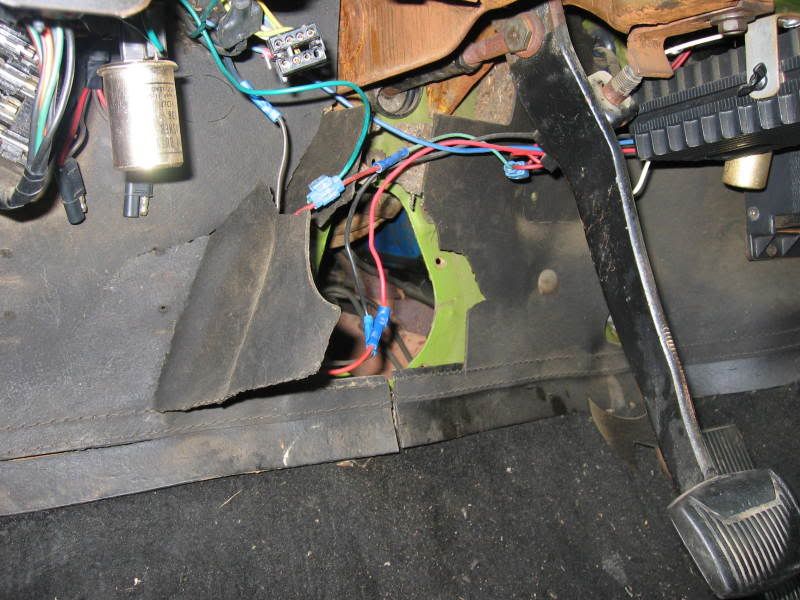
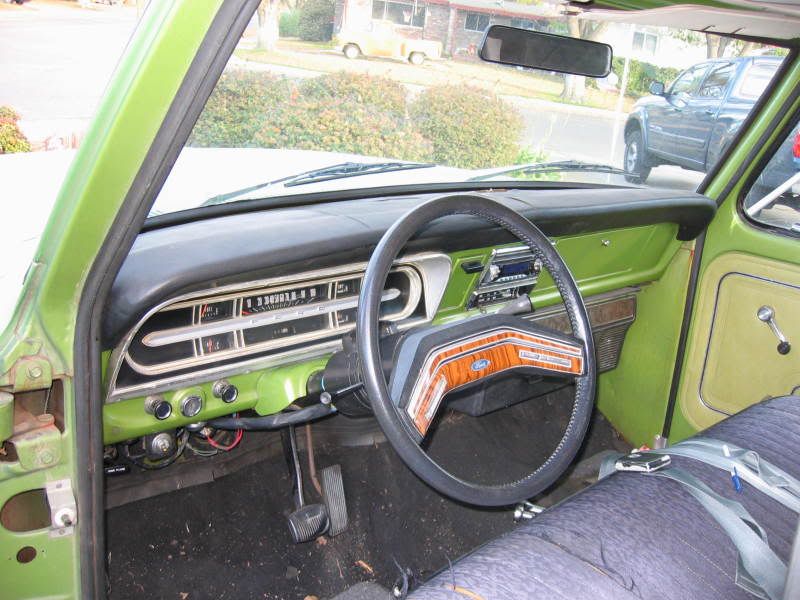
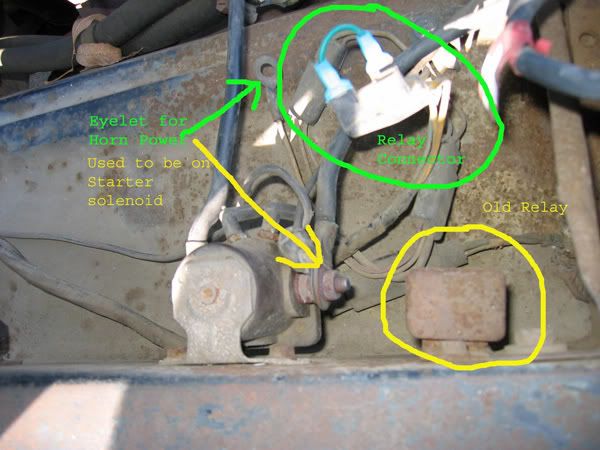
Here's a shot of the cruise control harness. As you can see I was able to snag the harness conector so that I could solder it to the stock '72 conector. I need the additional length to mount the control module and horn relay in the upper left corner behind the dash (same place it was in the '79).
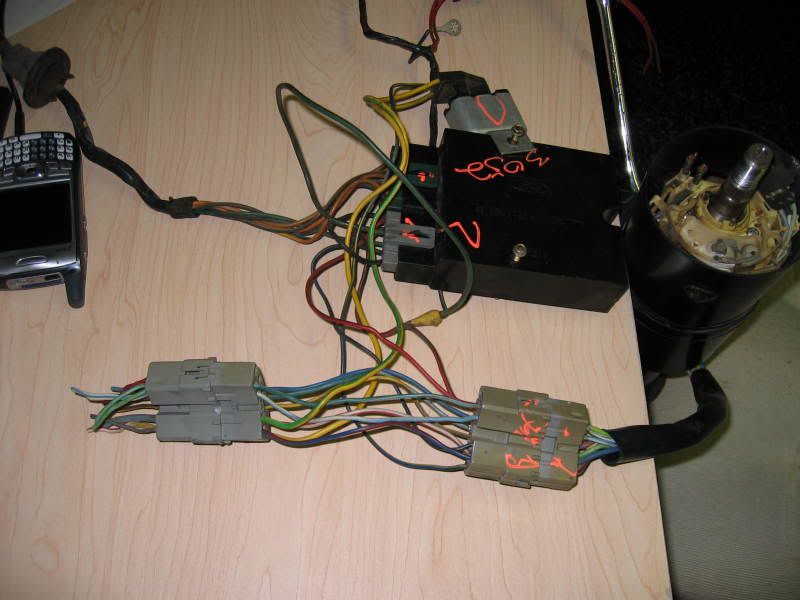
And here is my "pigtail" conector. ***Note: In this picture I have incorrectly soldered the white wire ('79 connector) to the Y-Bk of the '72 connector, and the Green of the '72 connector to the Y-Bk of the '79 connector. I fixed this when I realized my mistake.

For the shift indicator light (blue wire with red stripe), I made a "Y" pigtail with two female bullet connectors on the arms, and a male bullet connector on the leg. Then unplugged the cigar lighter light and put the "Y" pigtail in series.
Another issue I noticed is that the '79 shifter has just more than 5mm additional throw in comparison to the '72. According to Hawkrod, he has not seen a problem with this in any of the conversions he has done. He also says the '79 firewall seal fits fine. So, I'm going to try it. If I'm not comfortable with either one, I'll pull out the column, swap the seal and shorten radius of the "z" shaped lever (by heating, bending a quenching the lever). Making either of these changes means dissassembling the column. So I'm hoping to share in Hawkrod's good fortune.
The pictures with the yellow pencil is the '72 column. The pictures with the blue mechanical pencil is the '79 column.
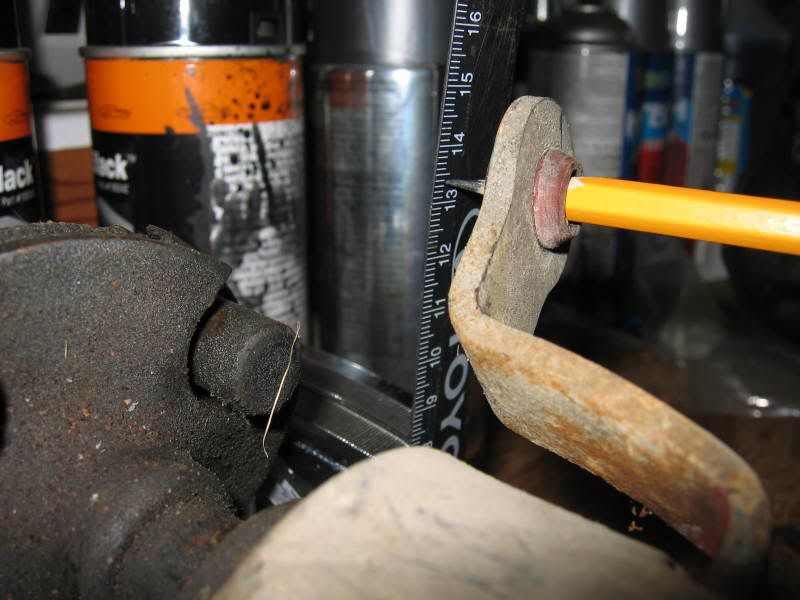
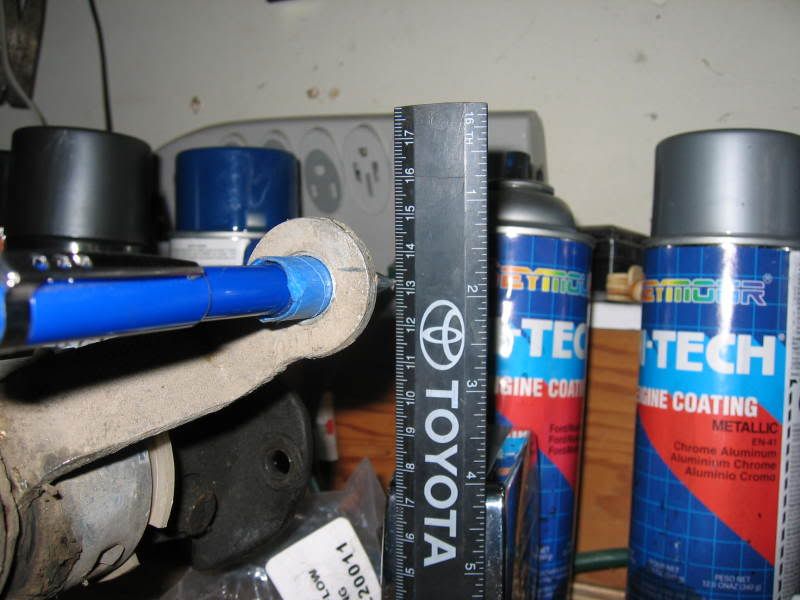
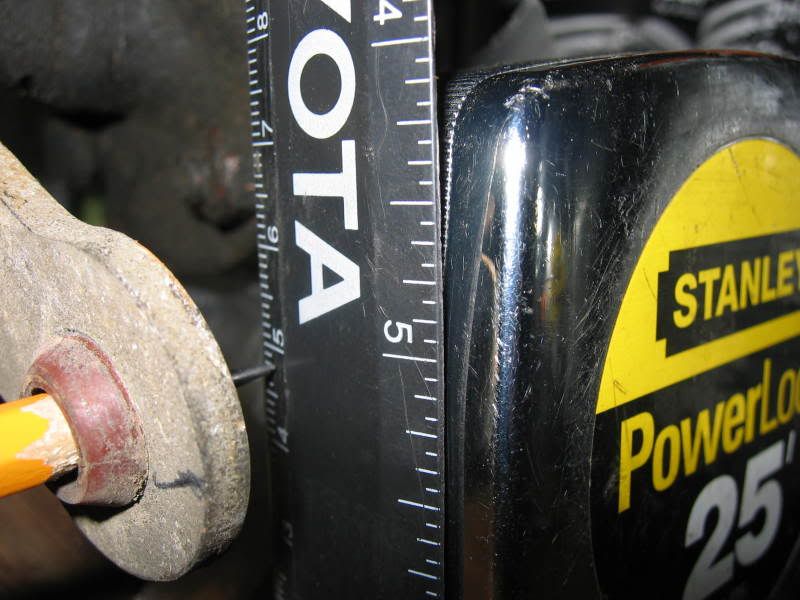
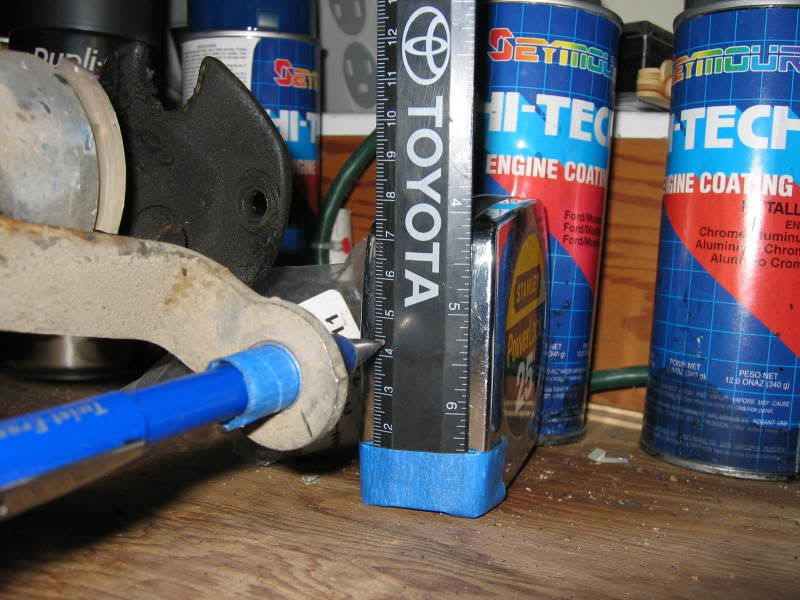
Steering wheel differences:
I now have three steering wheels. The '72, '79 and an early 80's Bronco (Simulated leather and wood grain). All three wheels fit on both the '72 and the '79 shaft, but the '72 wheel would not work on the '79 column as there is no way to cancel the turn signals, single horn contact, and it sit's too deep in the column. The '79 and early 80's Bronco wheel are interchangeable with each other, except that the Bronco wheel has "Resume" feature. Neither can be used on the '72 column because of the turn signal cancelation issue, horn issue, and asthetics of the gap at the hub. I mic'd the splined portion of the shafts, there is a slight difference, but the taper makes up for the difference in diameter. Spline count was the same.
The '72 wheel is 16" diameter, the 79 truck and early 80s Bronco wheel are both 15" diameter. More room for the thighs, but the sit exactly the same distance from the gut.
Here are some pictures of the wheels. The big wrapped wheel is the '72. The smaller diameter thick wheel is the Bronco, and the smaller thin wheel is the '79. I'm thinking of getting a leather wrap and using the '79 wheel with the Bronco horn pad.


The Horn pads are interchangeable between the 79 wheel and Bronco wheel, except the Resume feature will not work on the '79 cruise control. The rest of the switches work the same way.
On switch--- yellow to Blue wires 0 Ohms with button pressed
Off switch--- Black to Blue wires 0 Ohms with button pressed
Horn switch--- Black to Yellow wires 0 Ohms with button pressed
Coast switch--- Black to Yellow wires 120 Ohms with button pressed
Set-Accel switch--- Black to Yellow wires 680 Ohms with button pressed
Resume switch--- Black to Yellow wires 2,200 Ohms with button pressed
I did a search and couldn't find this kind of information, so I thought it might be of help. When I mount the module, horn relay and column, I'll update this with some more pictures. And when I'm sure about the wiring, I'll post the final correct configuration.


