#50's radiator support and inner fenders!

Post progress reports on your project truck(s)

Moderator: FORDification

Post Reply
User avatar
robroy
100% FORDified!
100% FORDified!
Posts: 3768
Joined: Sun Jul 06, 2008 4:36 pm
Location: California, Salinas

#50's radiator support and inner fenders!

Post by robroy »

Good evening!

Here's how my radiator support and inner fenders looked when I pulled them off the truck:

Image
Image

The inner fenders had lots of under-coating, with rust hiding under it! It was nasty.

Image
Image

Here's the radiator support, looking really great. I sprayed Rustoleum over the rusty metal ten years ago--here's what happened:

Image
Image
Image

I'll post photos of the re-finishing process next!

Robroy
User avatar
robroy
100% FORDified!
100% FORDified!
Posts: 3768
Joined: Sun Jul 06, 2008 4:36 pm
Location: California, Salinas

Re: #50's radiator support and inner fenders!

Post by robroy »

I washed them down, then spent days with an electric angle grinder (with a wire wheel) to get rid of all the under-coating and super heavy rust, then several more days with the sandblaster to finish off the stripping. It was hot and nasty work!

Image

Once I get all three pieces pretty darn immaculate, I sprayed on three coats of Rust Bullet Automotive with an HVLP running a 1.8mm tip at 40-60 PSI. That Rust Bullet is really thick stuff; a 2.0mm tip probably would have been a lot better.

Image
Image
Image
Image
Image

Then, after waiting two days for the Rust Bullet to off-gas, I hit the panels with about four thin coats of Eastwood Underhood Black. It's a super thin acrylic lacquer that's mixed 50/50 with lacquer thinner before spraying. I sprayed this on with a different HVLP using a 1.5mm tip and about 30-40 PSI. It sprayed on VERY smoothly.

I was a little disappointed with the rough finish. It's really that the Rust Bullet wasn't coming out super smoothly, so all the tiny specs of Rust Bullet are visually enhanced with the semi-gloss black topcoat. And the lacquer is SO thin that it hides NOTHING. I'm still happy overall, but it's not exactly the finish I had in mind at the outset.

Image
Image
Image

The battery box area really cleaned up nicely at the end.

Image

Here's my work area. That's the HVLP with the 1.5mm tip I used for the Underhood Black. You can also see a quart of Underhood Black, some lacquer thinner, a mixing cup and other stuff.

Image

And here's the yard I was doing the work in. I tied the inner fenders to an engine lift to get them off of the ground. I wanted to work outside to avoid making any explosive clouds of paints and fumes inside of the garage!

Image

The radiator support sitting back on #50's frame for the first time since the project began.

Image
Image

I'll post another final series of photos when the inner fenders and radiator support are all bolted up!

Thanks for viewing!
Robroy
User avatar
kaptnkaos
100% FORDified!
100% FORDified!
Posts: 2029
Joined: Thu Feb 16, 2006 1:27 am
Location: Washington, Elma

Re: #50's radiator support and inner fenders!

Post by kaptnkaos »

50's comin' together real nice Robroy...

Thanks for all the updates and photo's, it's cool seeing people's projects come together.

KaptnKA 8) S
Washington...The land where rust is like the family pet...Ya learn to live with it and clean up after its mess... KaptnKAOS

"Olde Skool" '68 Ford Bluebird short bus
"FRODO" '68 F-250 Camper Special project
User avatar
robroy
100% FORDified!
100% FORDified!
Posts: 3768
Joined: Sun Jul 06, 2008 4:36 pm
Location: California, Salinas

Re: #50's radiator support and inner fenders!

Post by robroy »

Thanks KaptnKA 8) S! I hope to make lots of progress over the next few weeks.

Robroy
towtruckerfour
Blue Oval Fanatic
Blue Oval Fanatic
Posts: 929
Joined: Thu Dec 18, 2008 1:33 pm
Location: Mountain Home,Idaho
Contact:

Re: #50's radiator support and inner fenders!

Post by towtruckerfour »

The truck is coming together nicely.
Troy
Why is it that the trucks are always the best running vehicles in the family?
Ford means "found on road daily"
70 F100 Custom-352 w/68 Highboy 4x4 frame. My play/project truck
70 F250 Explorer-390/C6 auto. My work truck
04 Mitsubishi montero-family car
User avatar
robroy
100% FORDified!
100% FORDified!
Posts: 3768
Joined: Sun Jul 06, 2008 4:36 pm
Location: California, Salinas

Re: #50's radiator support and inner fenders!

Post by robroy »

Thanks Troy!
User avatar
robroy
100% FORDified!
100% FORDified!
Posts: 3768
Joined: Sun Jul 06, 2008 4:36 pm
Location: California, Salinas

Re: #50's radiator support and inner fenders!

Post by robroy »

Today I started fitting the new inner fenders with their seals, and have already hit a minor issue (more on that later).

Here are two of the seals I used (C7TZ-16A054-PR on the left, and C7TZ-16B126-PR on the right):

ImageImage
http://www.robroygregg.com/Number50/IMG_3924s.JPG http://www.robroygregg.com/Number50/IMG_3925s.JPG

This piece went on pretty easily with the plastic rivets (supplied). New rubber smells nice!

Image
http://www.robroygregg.com/Number50/IMG_3926s.JPG

Here are the plastic rivets:

ImageImage

The piece resting in the inner fender to see if it would fit. The holes lined up very nicely on the first try! A rare experience.

Image

And here it is with the rivets pushed in. I had to tap some of them in with a punch (with a wide tip), but they were undamaged when they popped through on the other side.

Image

Here's what the plastic rivets look like when they poke out the other side. To my surprise, after installation they weren't tight in there. Since they're barbed they'll stay put and not allow the rubber flap to come loose, but there's a significant amount of play between the holes in the sheet metal and the diameter of the rivets. I'm not sure if this is a factory characteristic or not!

Image

And here are the more mysterious pieces, including some staples they came with.

Image

It's not easy to see exactly how to line this piece up. Thankfully I have some photos of how the factory piece went on for reference, but my factory piece was so badly worn that it's still not completely clear. I'm not even sure if this piece is a faithful reproduction of the factory seal or not.

Image

And here's the real quandary. The sack that contained both of these seals and the staples included these 14 staples:

Image

Since they included 14, that means I can use up to seven on each inner fender. Yet Ford originally used 13 or 14 staples per fender!

Did anybody else install these seals and notice this conspicuous staple shortage? Do ya'll think Dennis Carpenter intended the new seals to go in with half the staples, or did only half of the staples included in my sack?

Thanks very much for reading, and for the excellent advice!
Robroy
User avatar
robroy
100% FORDified!
100% FORDified!
Posts: 3768
Joined: Sun Jul 06, 2008 4:36 pm
Location: California, Salinas

Re: #50's radiator support and inner fenders!

Post by robroy »

I replaced C7TZ-16A054-PR today. The old one was a petrified donkey ear.

Image
Image
Image
Image

The new one from Dennis Carpenter.

Image
Image
Image

A side-by-side comparison.

Image

The new one fully installed!

Image

Robroy
fordman
100% FORDified!
100% FORDified!
Posts: 22329
Joined: Sun Aug 28, 2005 8:17 pm
Location: Kansas, Ottawa
Contact:

Re: #50's radiator support and inner fenders!

Post by fordman »

lizard tounges and donkey ears. you get funnier everytime.
User avatar
robroy
100% FORDified!
100% FORDified!
Posts: 3768
Joined: Sun Jul 06, 2008 4:36 pm
Location: California, Salinas

Re: #50's radiator support and inner fenders!

Post by robroy »

Thanks Fordman!
User avatar
robroy
100% FORDified!
100% FORDified!
Posts: 3768
Joined: Sun Jul 06, 2008 4:36 pm
Location: California, Salinas

Re: #50's radiator support and inner fenders!

Post by robroy »

I cracked in to my Totally Stainless bolt kit today!

Image
http://www.robroygregg.com/Number50/IMG_4021s.JPG

Image
Image

Robroy
User avatar
robroy
100% FORDified!
100% FORDified!
Posts: 3768
Joined: Sun Jul 06, 2008 4:36 pm
Location: California, Salinas

Re: #50's radiator support and inner fenders!

Post by robroy »

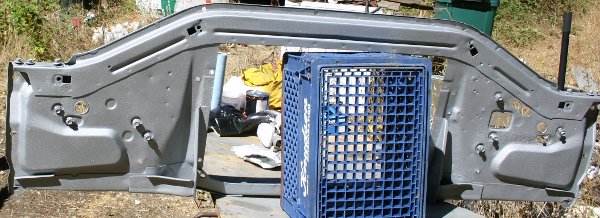
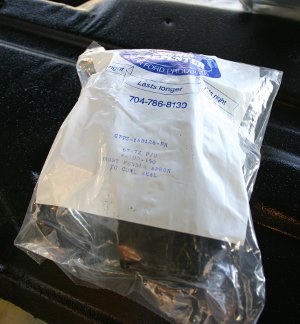
I got the apron to cab seal installed! It wasn't easy to get those staples in there. The URLs under some of the photos have full resolution editions, if you want to take a closer look at anything.

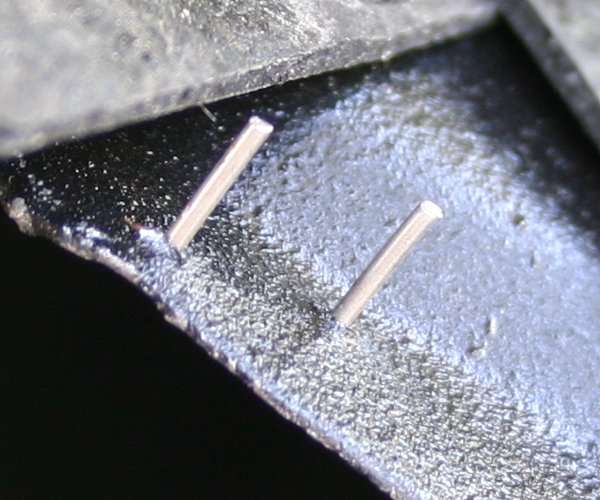
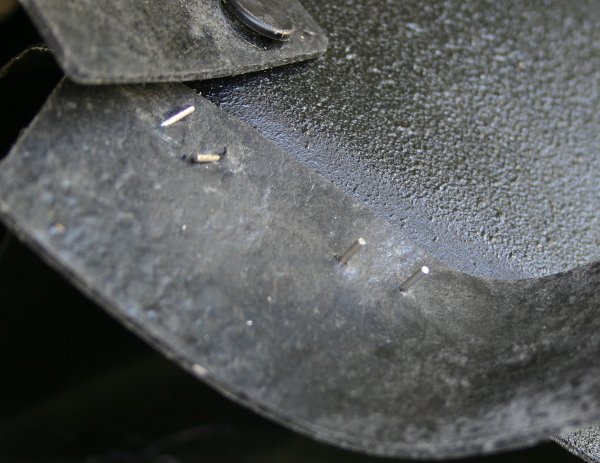
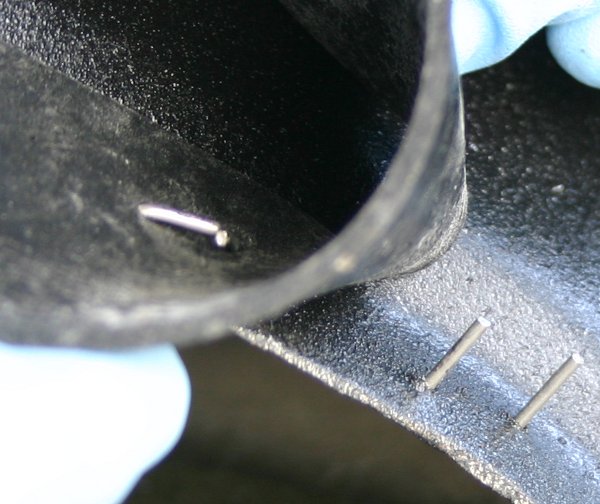
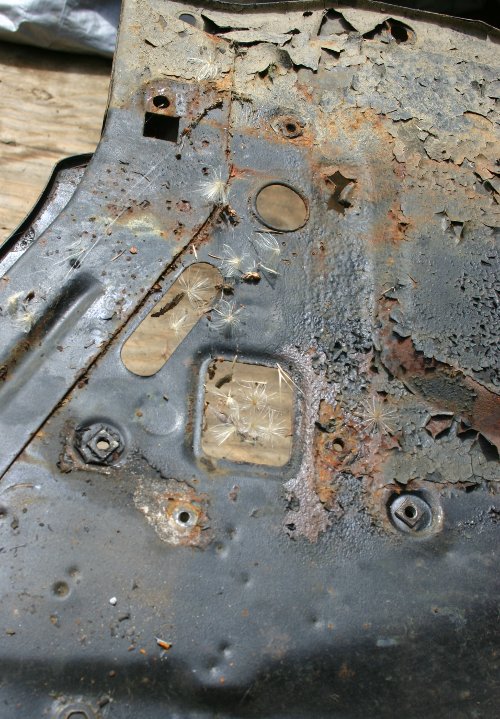
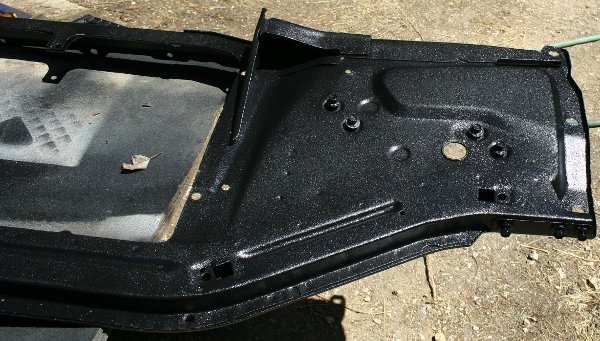
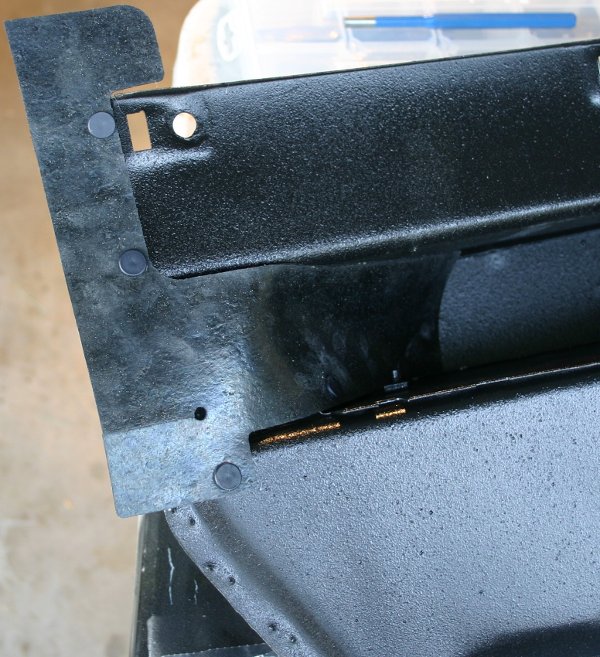
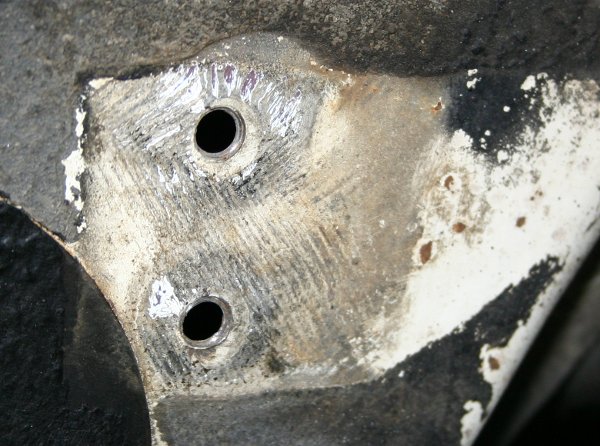
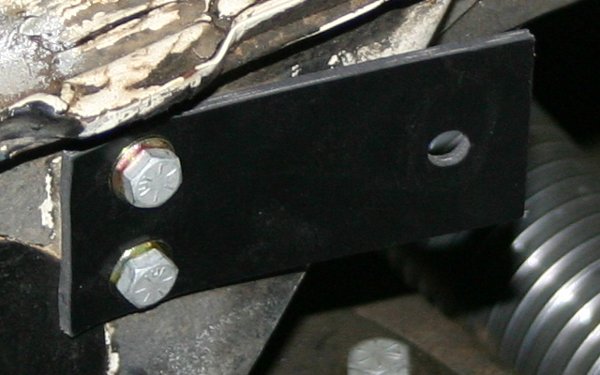
Here I've poked one through the factory holes.

Image
http://www.robroygregg.com/Number50/IMG_3982s.JPG

Image

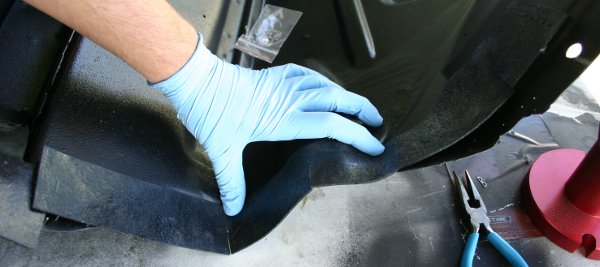
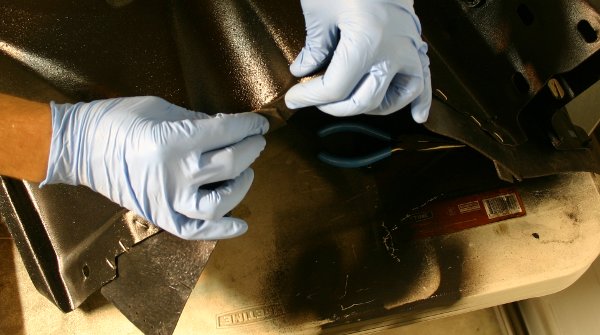
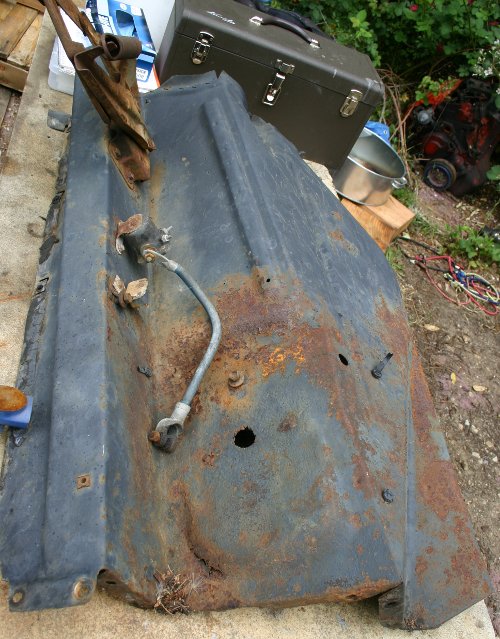
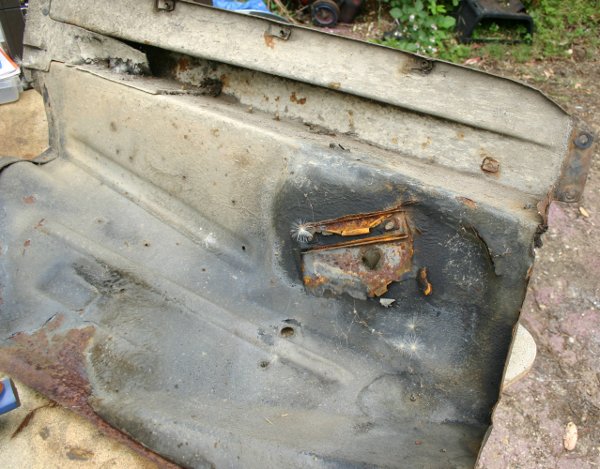
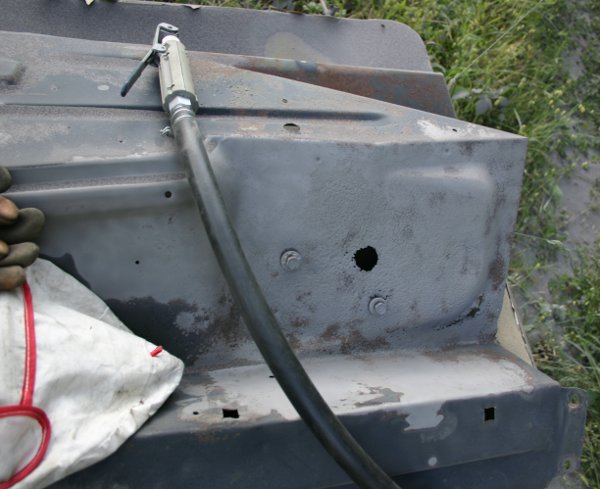
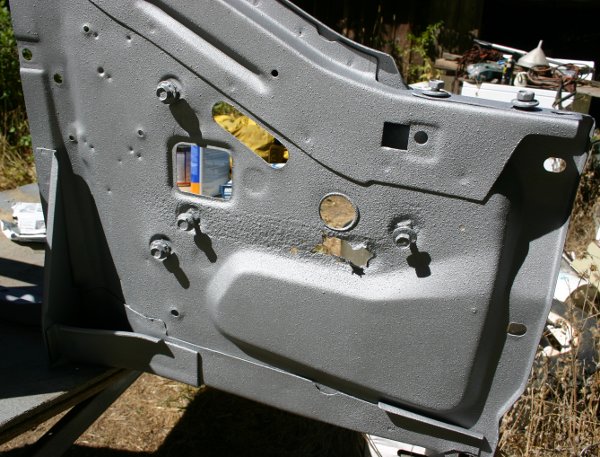
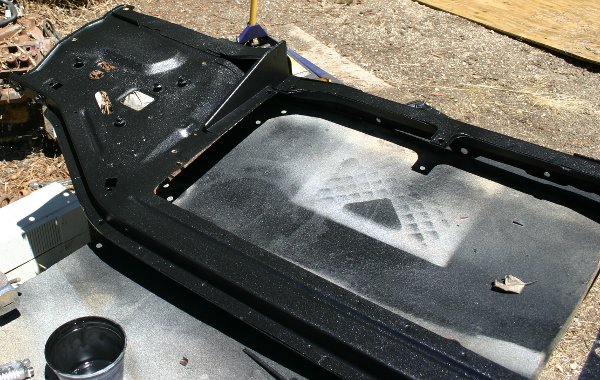
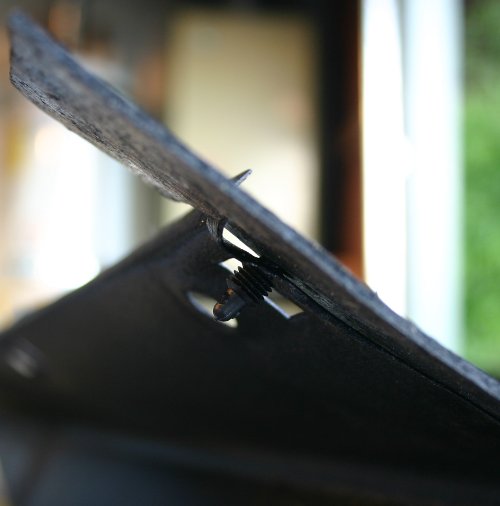
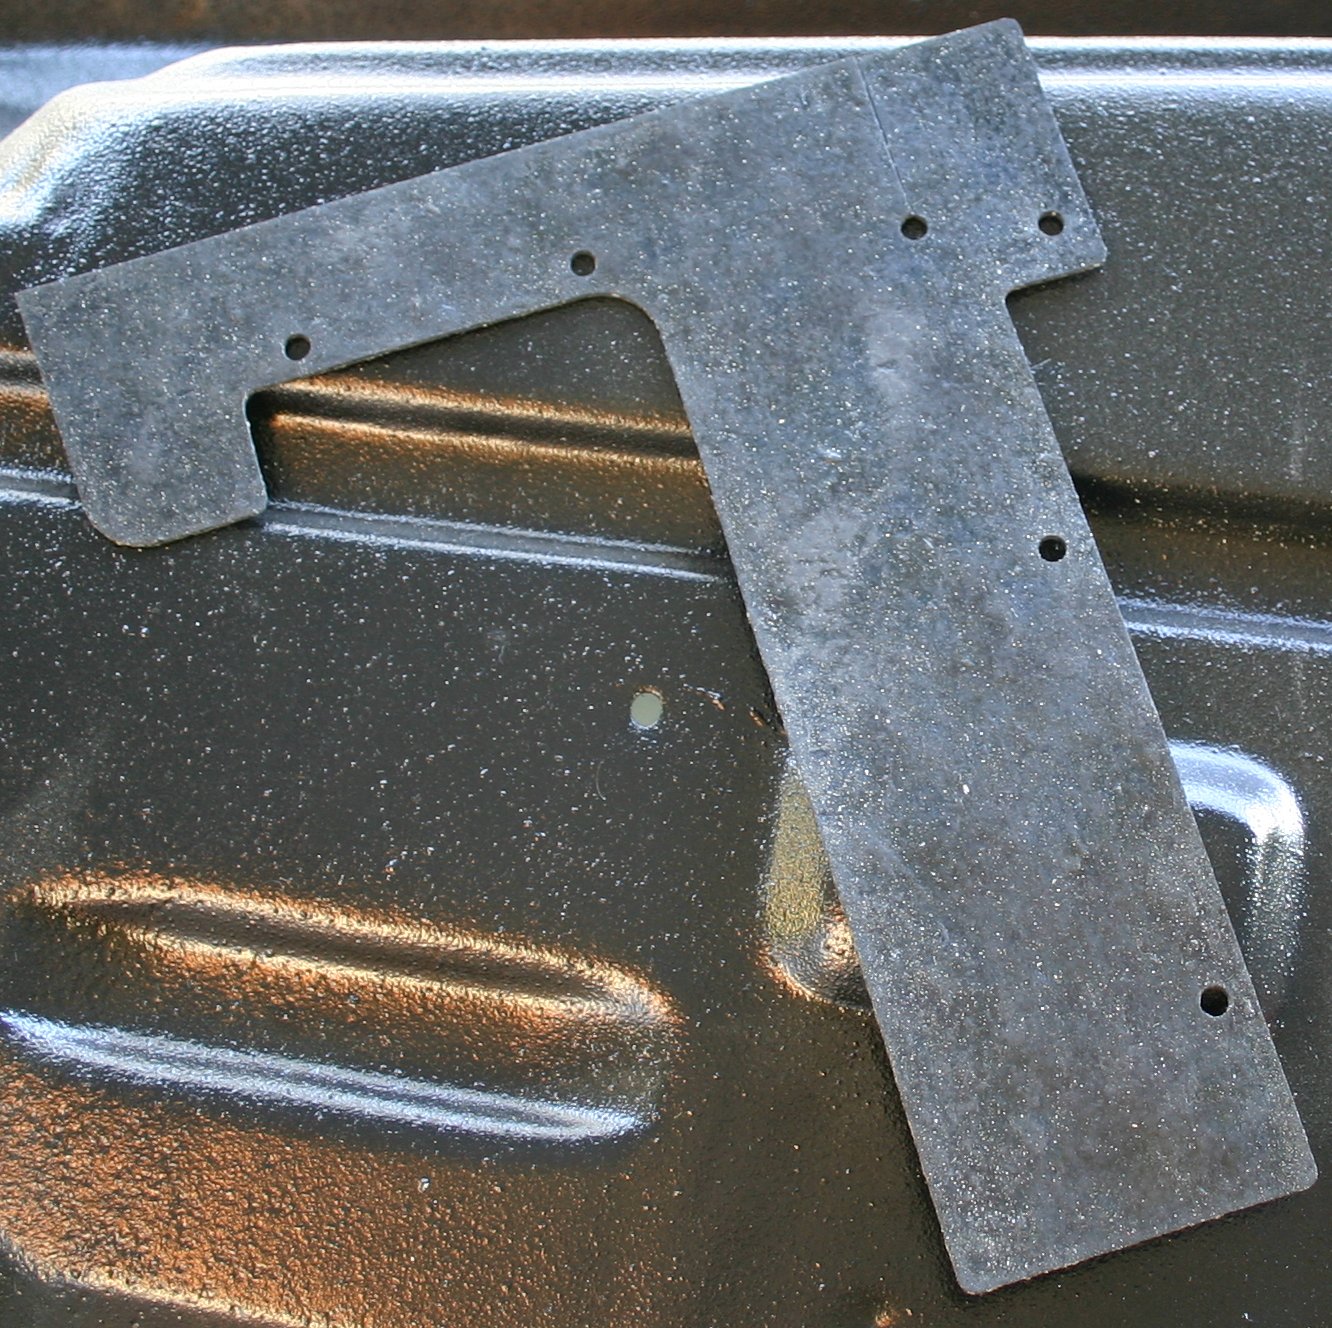
Here I'm trying to hold the seal up against the contours of the apron. It didn't seem like a very natural fit, but maybe the factory seals weren't either, when they were new.

Image

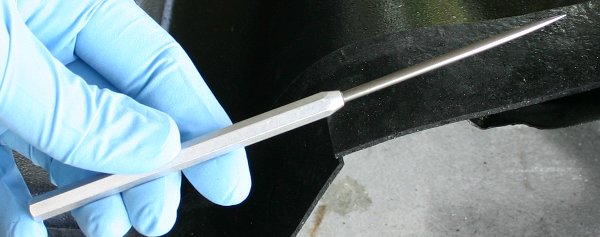
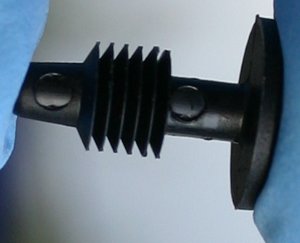
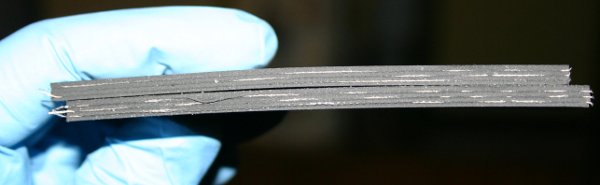
I had to use this machinist's tool to poke tiny holes in the seal for the staples. Sometimes I could just press the seal over the staples, but that wasn't always possible. The seal was kind of thick.

Image

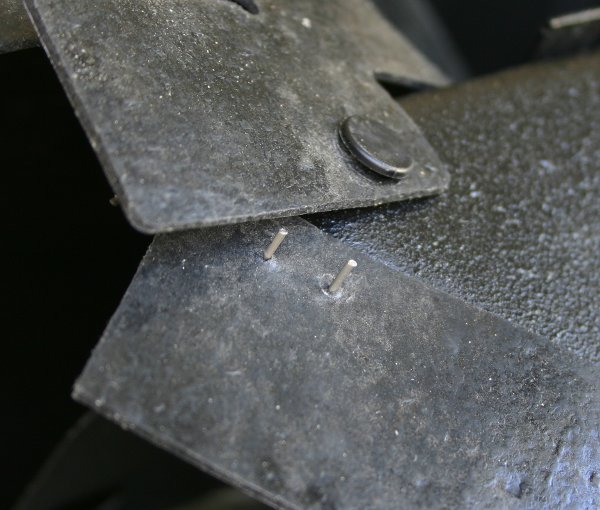
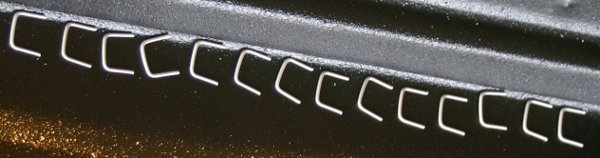
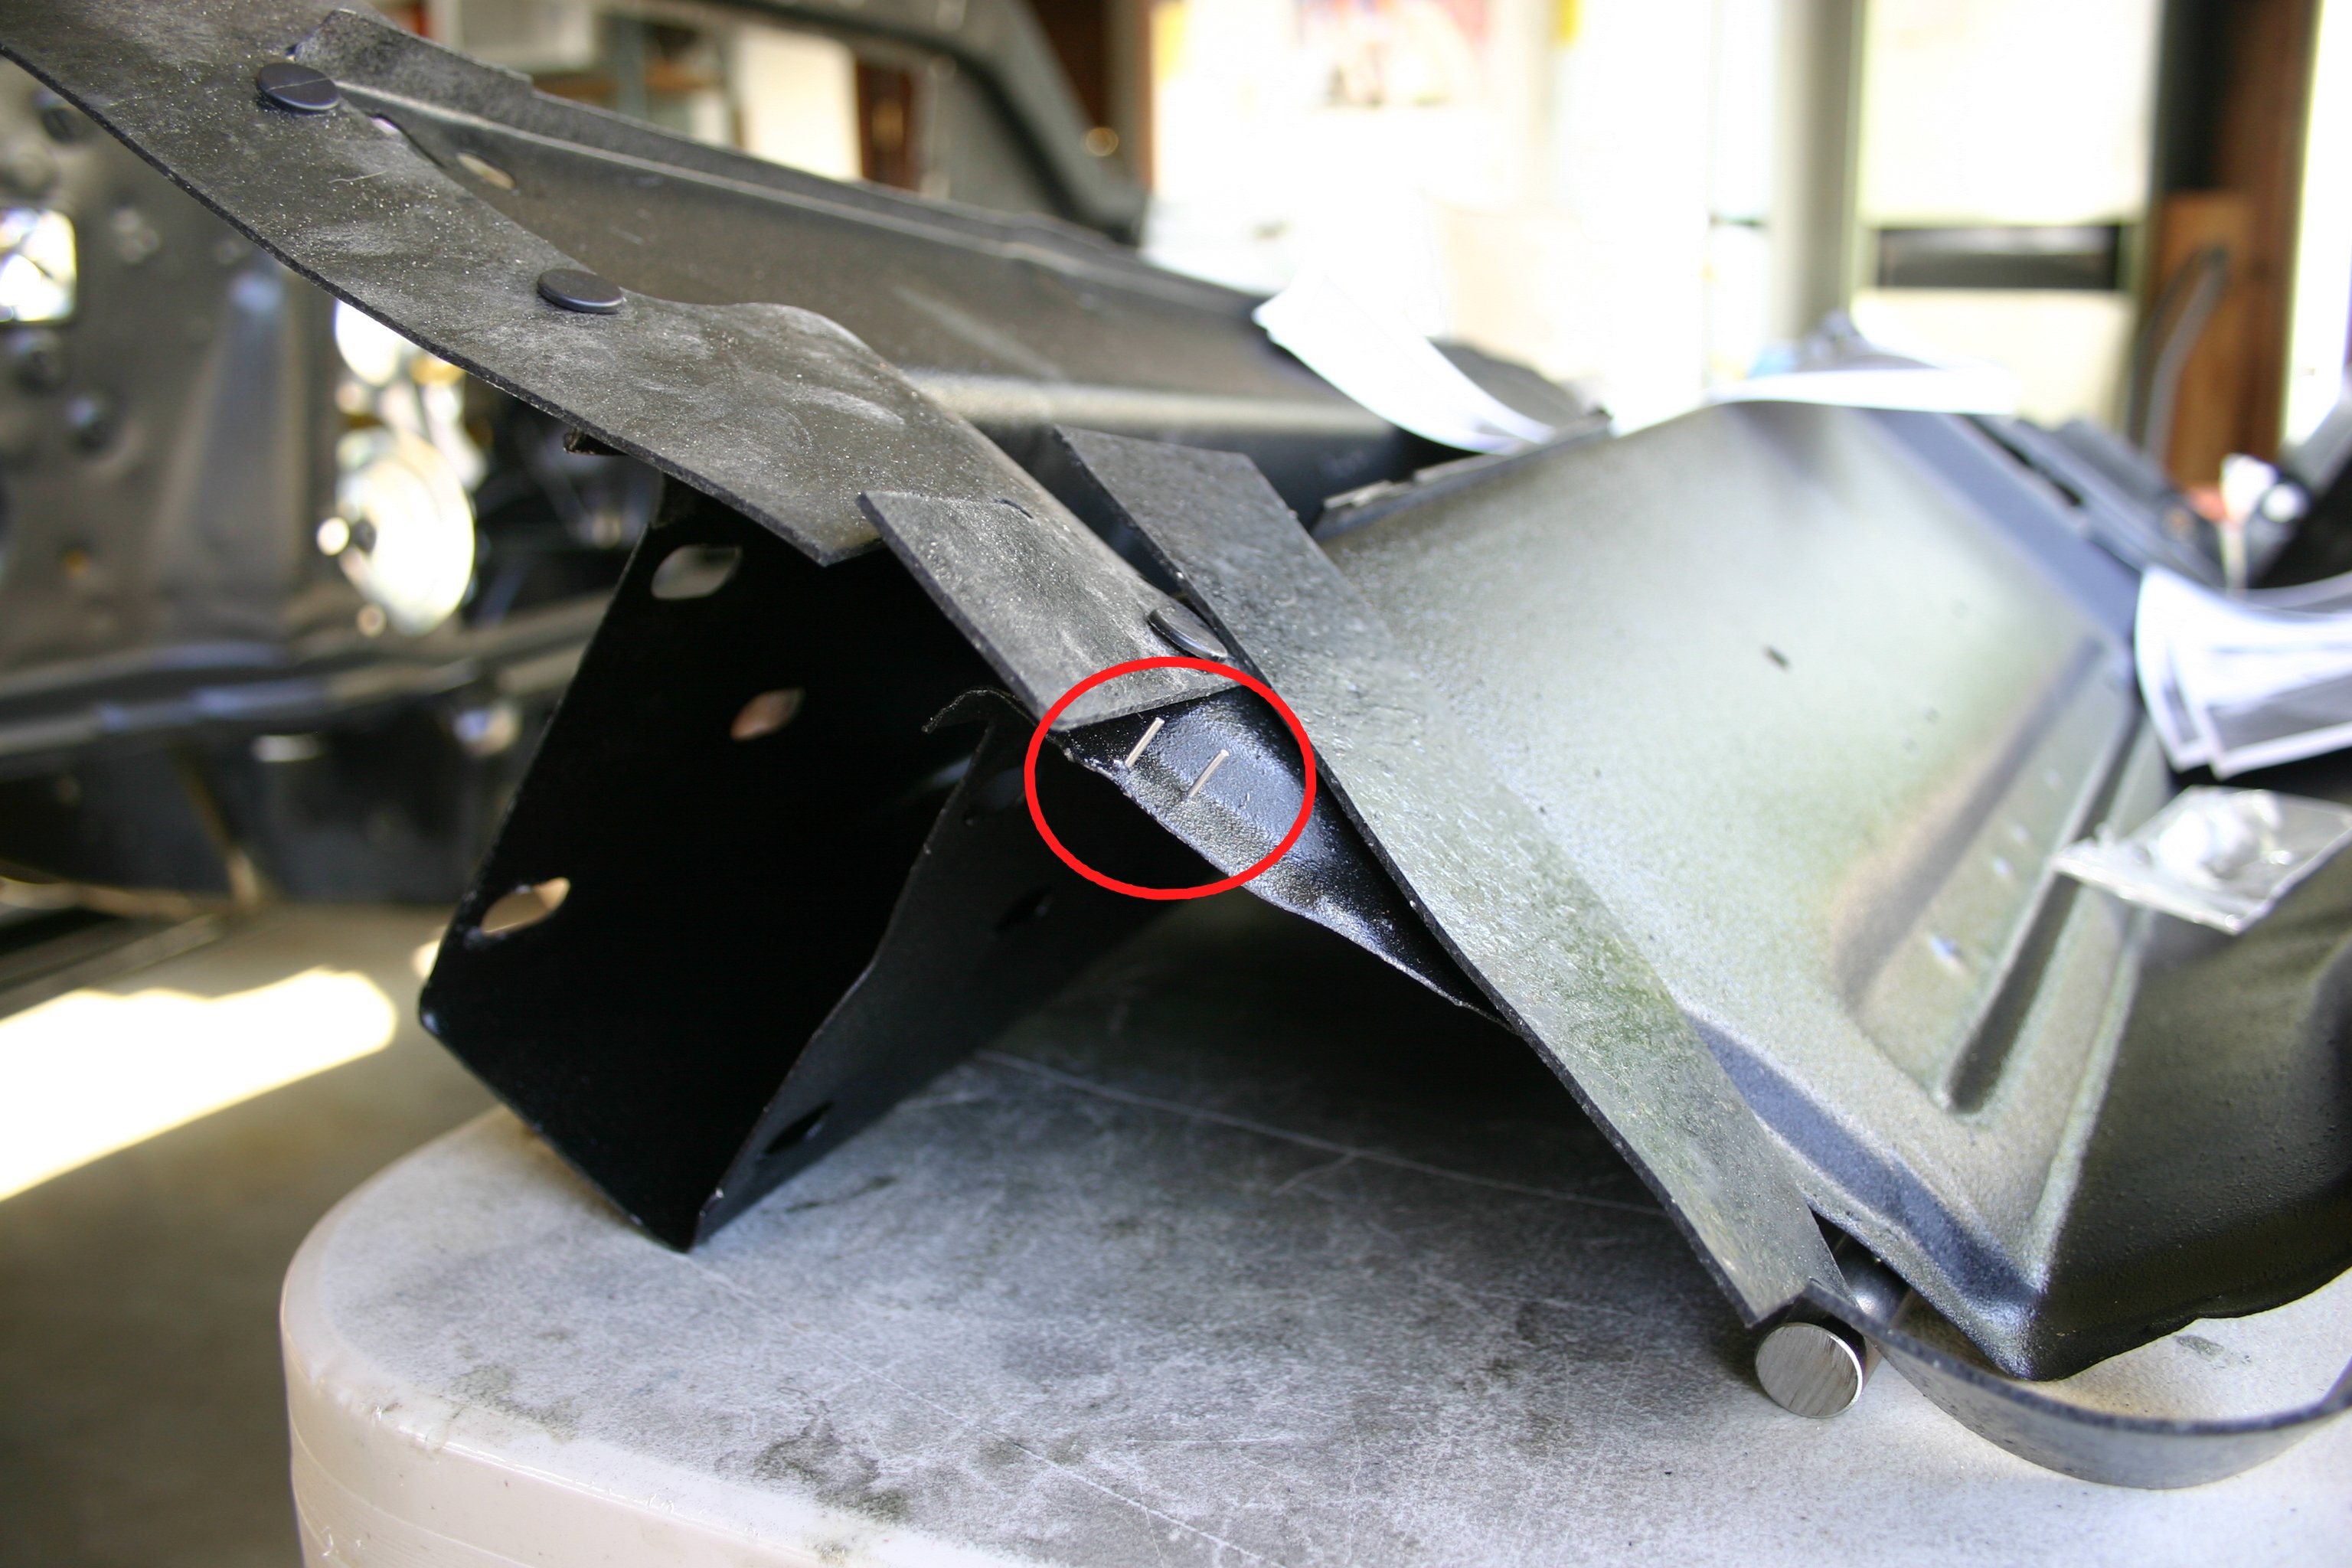
Here I got the first staple poked through the apron and the seal!

Image

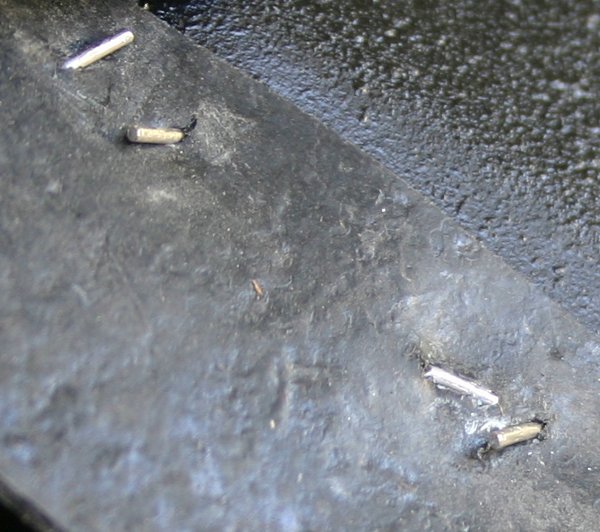
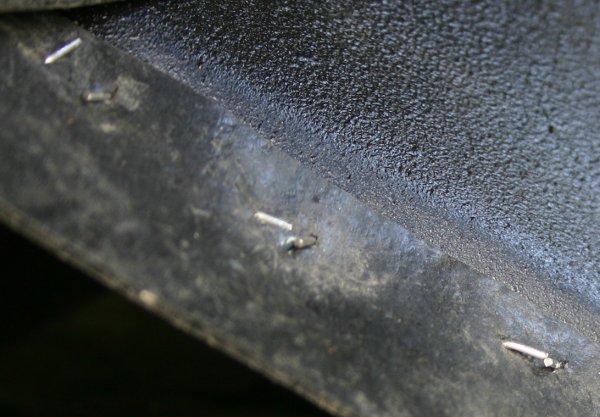
I got the first staple ends squashed down, which was pretty hard to do. Of course I had a mental image of this perfect, compress staple, but it came out pretty messy looking. I promised myself I'd do better on the second one.

Image

But my skills didn't improve very much for the second one! I tried all kinds of pliers and a punch and hammer, but couldn't get the staple ends to bend down in a visually pleasing way.

Image

Got the third staple poked through.

Image

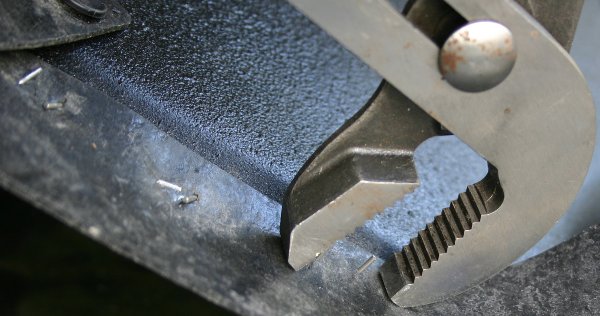
Here I'm trying to bend the ends down on the third staple. This tool was the most effective.

Image

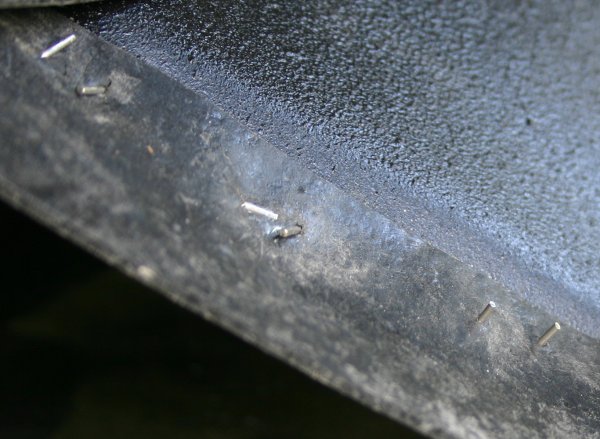
And it's done! But not looking very much better. At least the staples seemed strong enough--they're not coming undone easily.

Image

The fourth staple poked through, under the seal.

Image

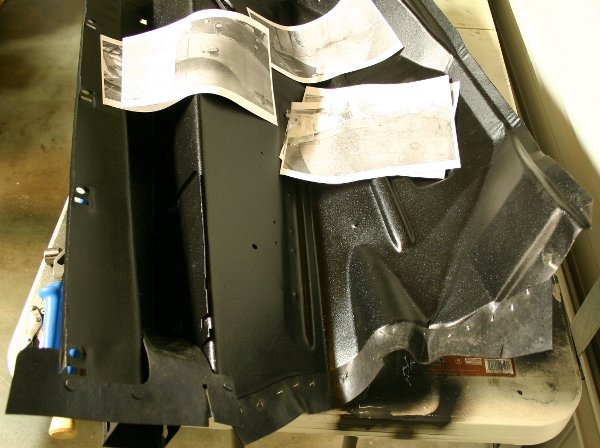
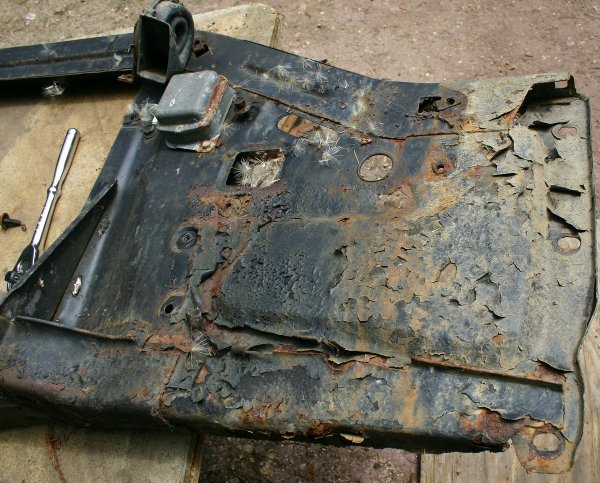
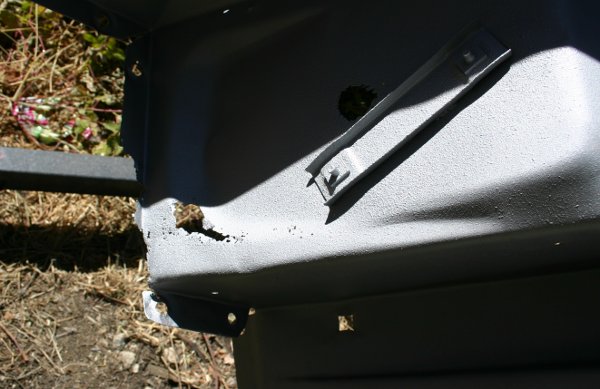
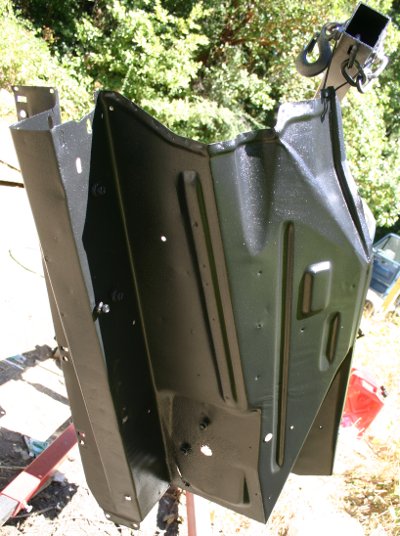
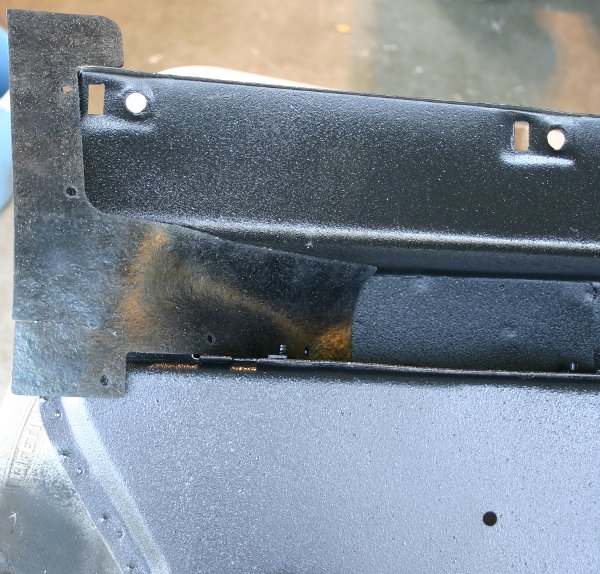
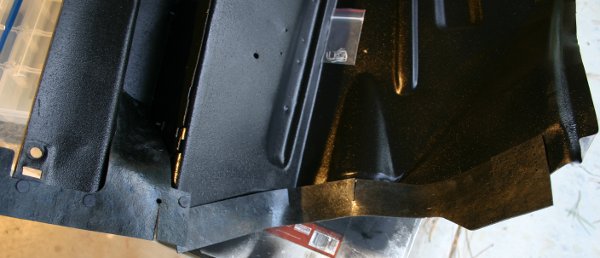
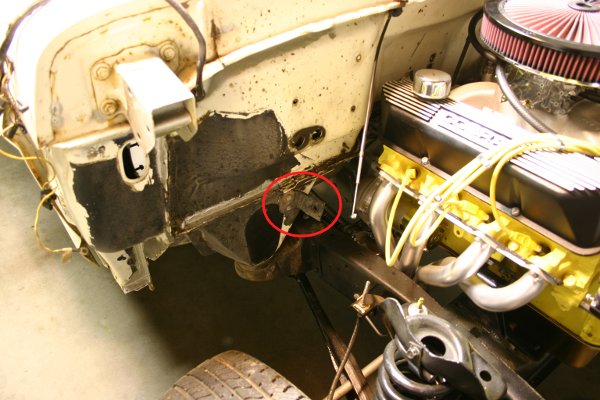
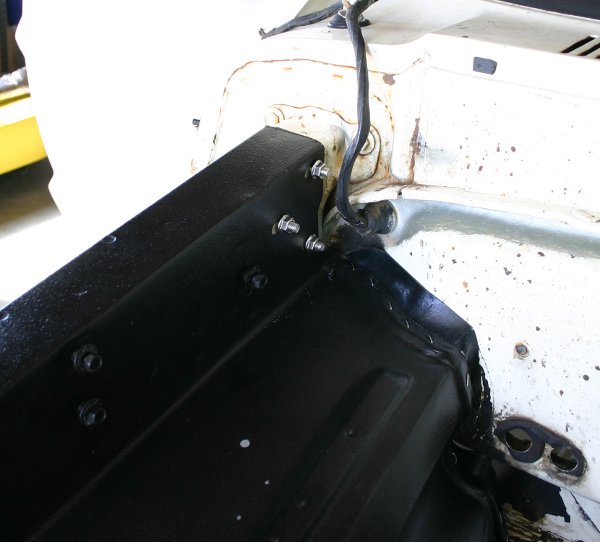
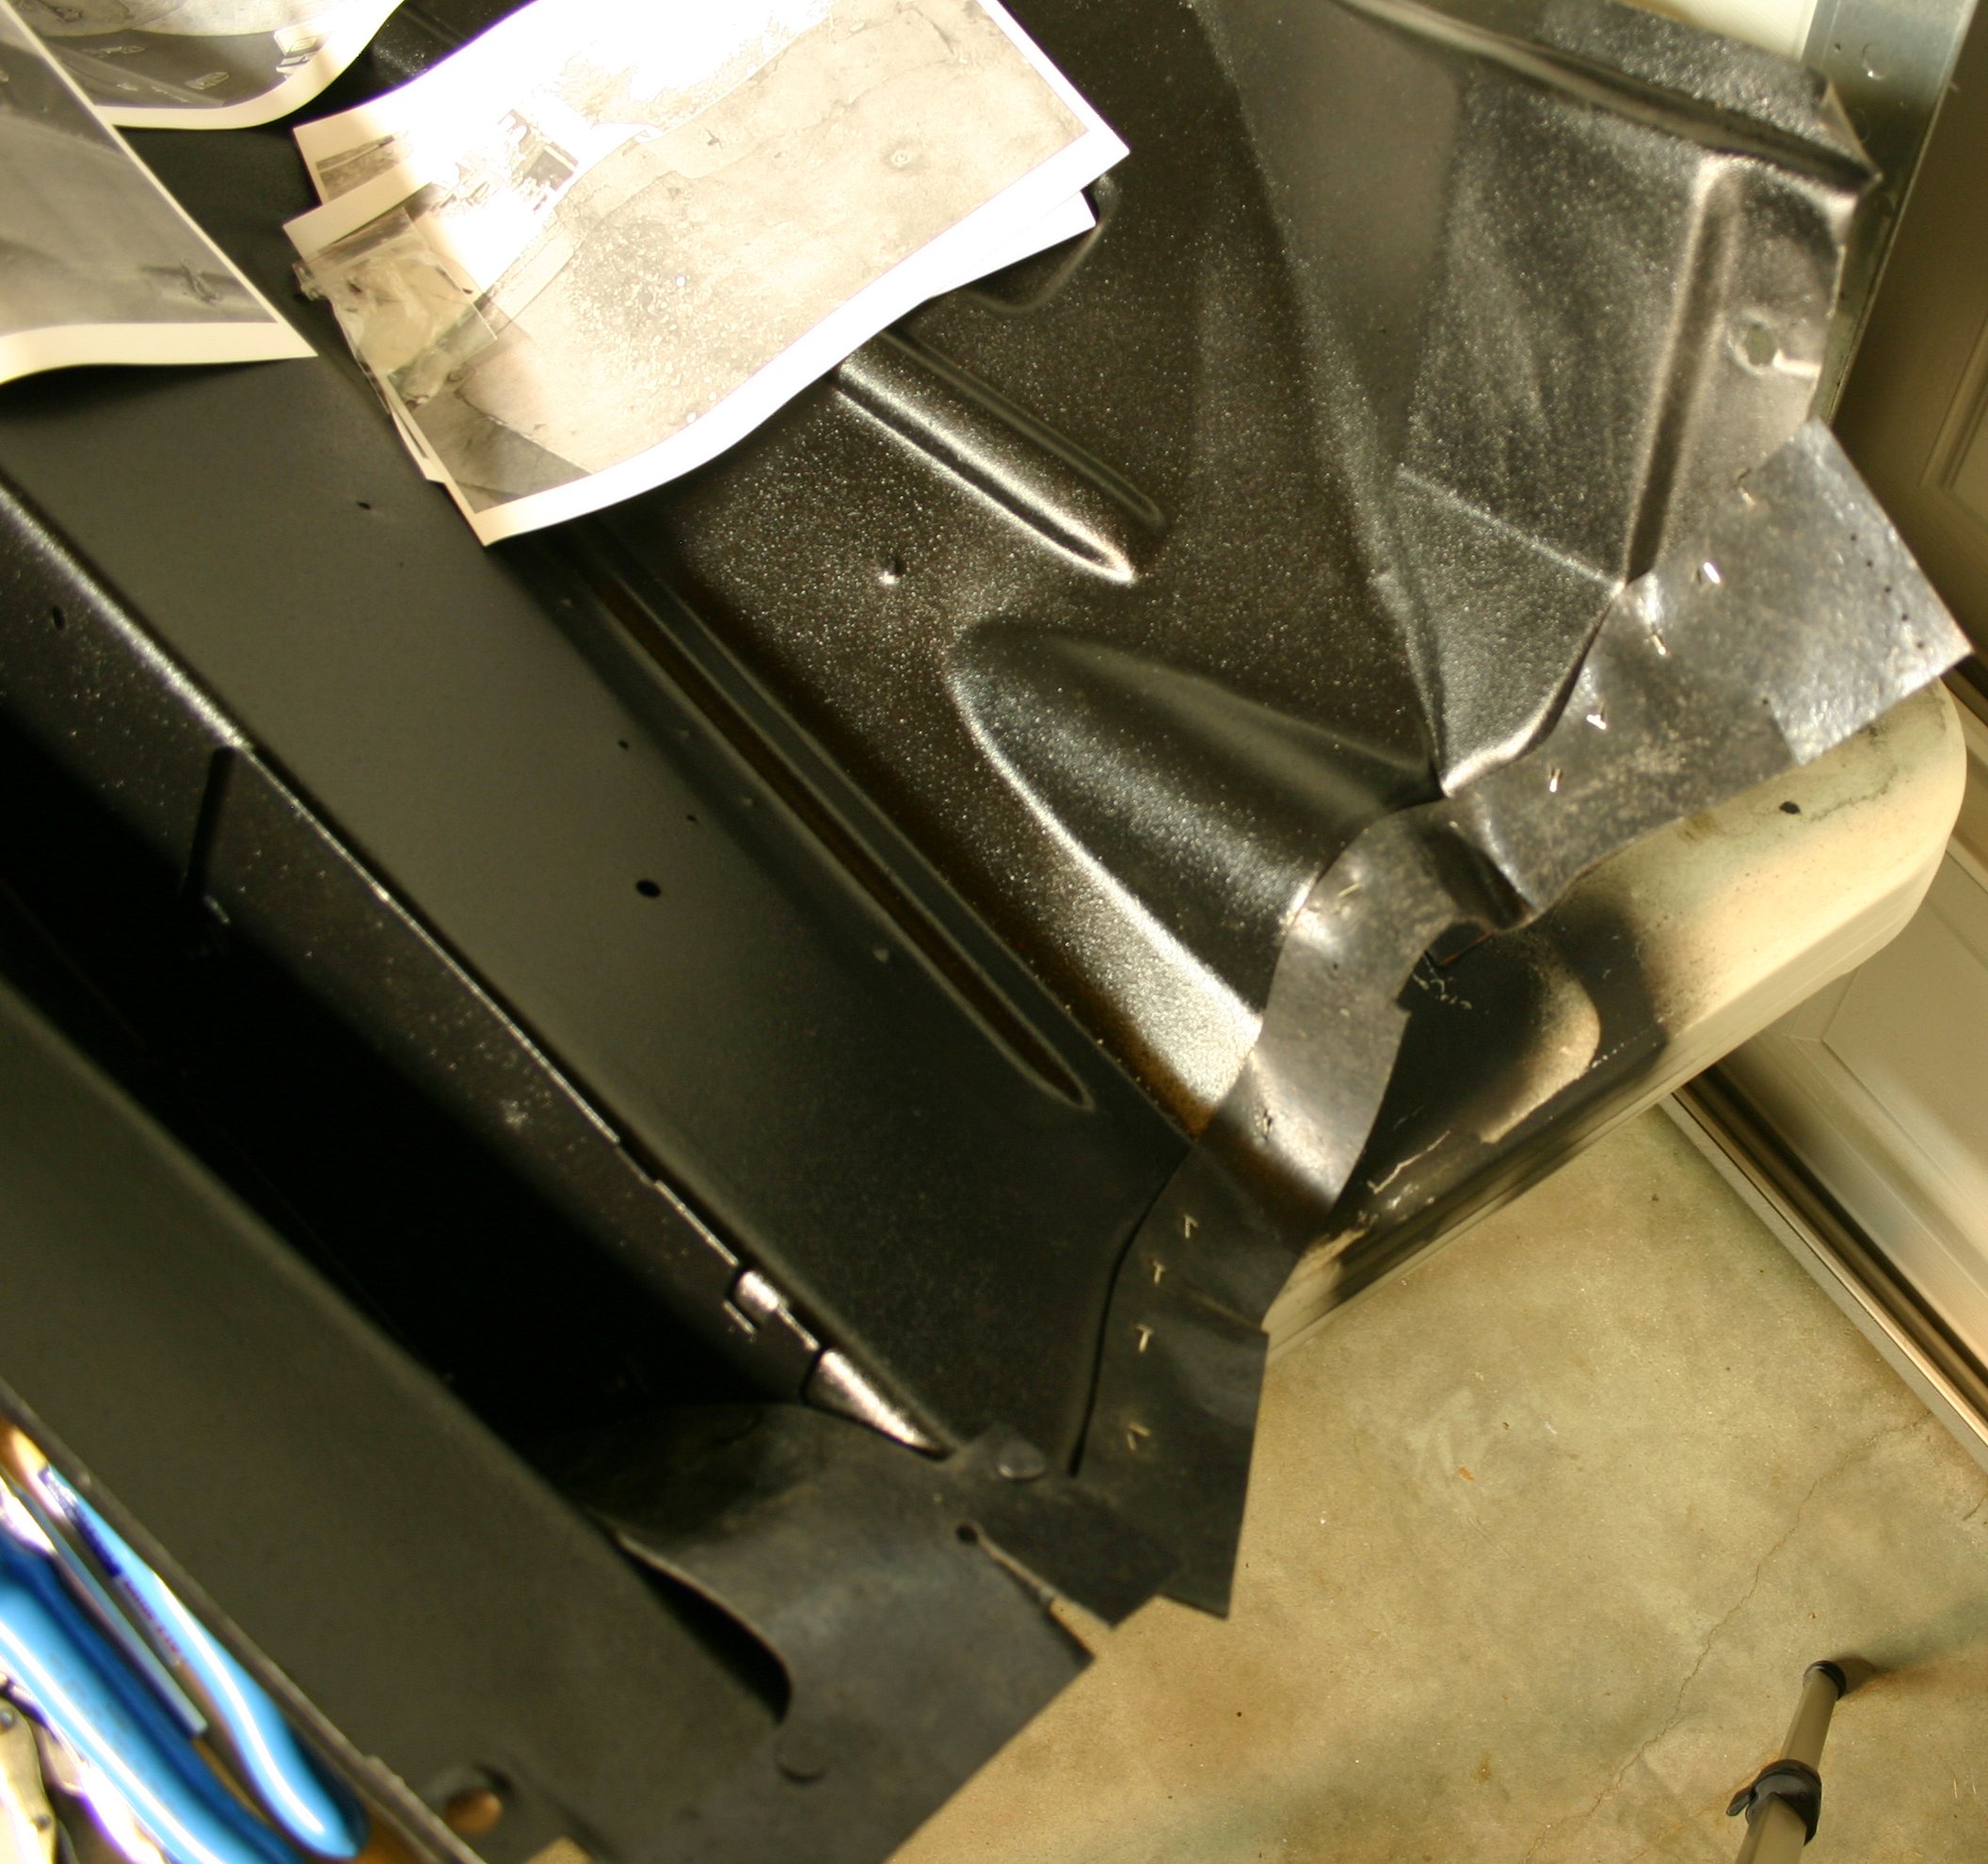
Here's how the seal seemed to fit the apron's contours. I'm not sure if I tacked it down perfectly or not! It was hard to tell from my ancient photos that I took before ripping the old seals off. The old seals were pretty beat!

Image

Here it is pretty much tacked down. You can see my photo printouts that I took of the old seals, but they weren't very easy to see.

Image

Image
http://www.robroygregg.com/Number50/IMG_3995s.JPG

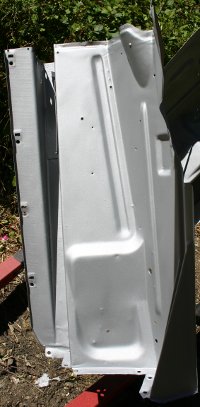
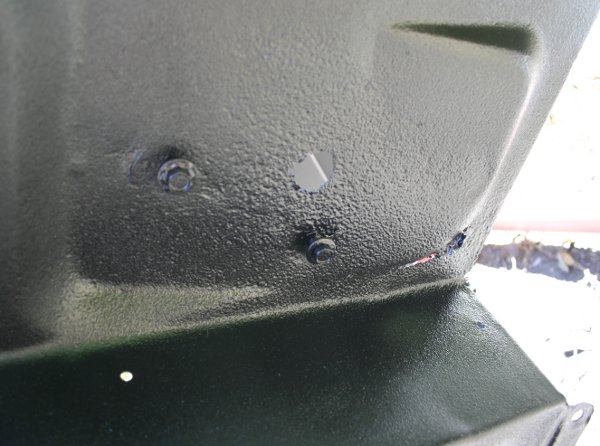
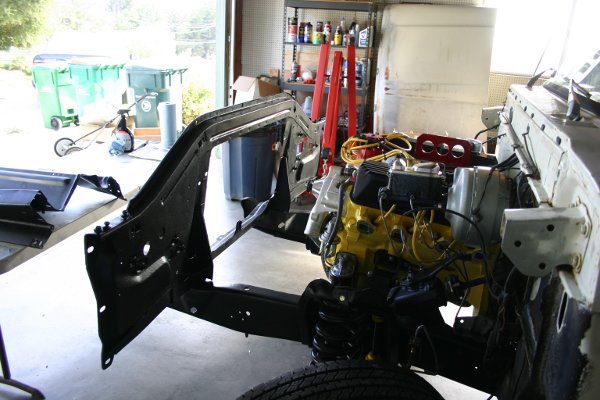
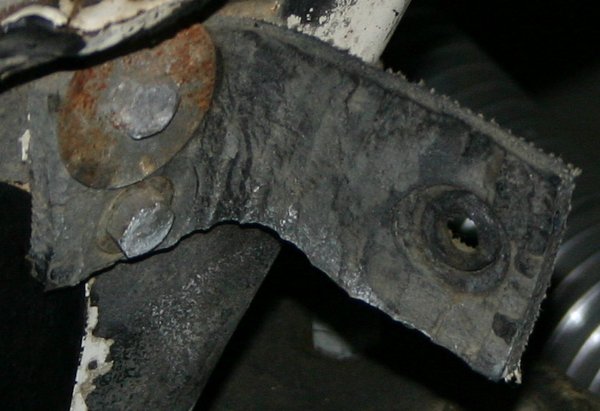
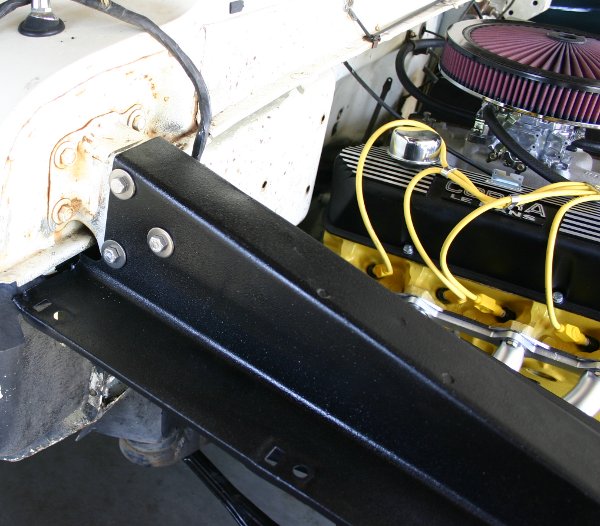
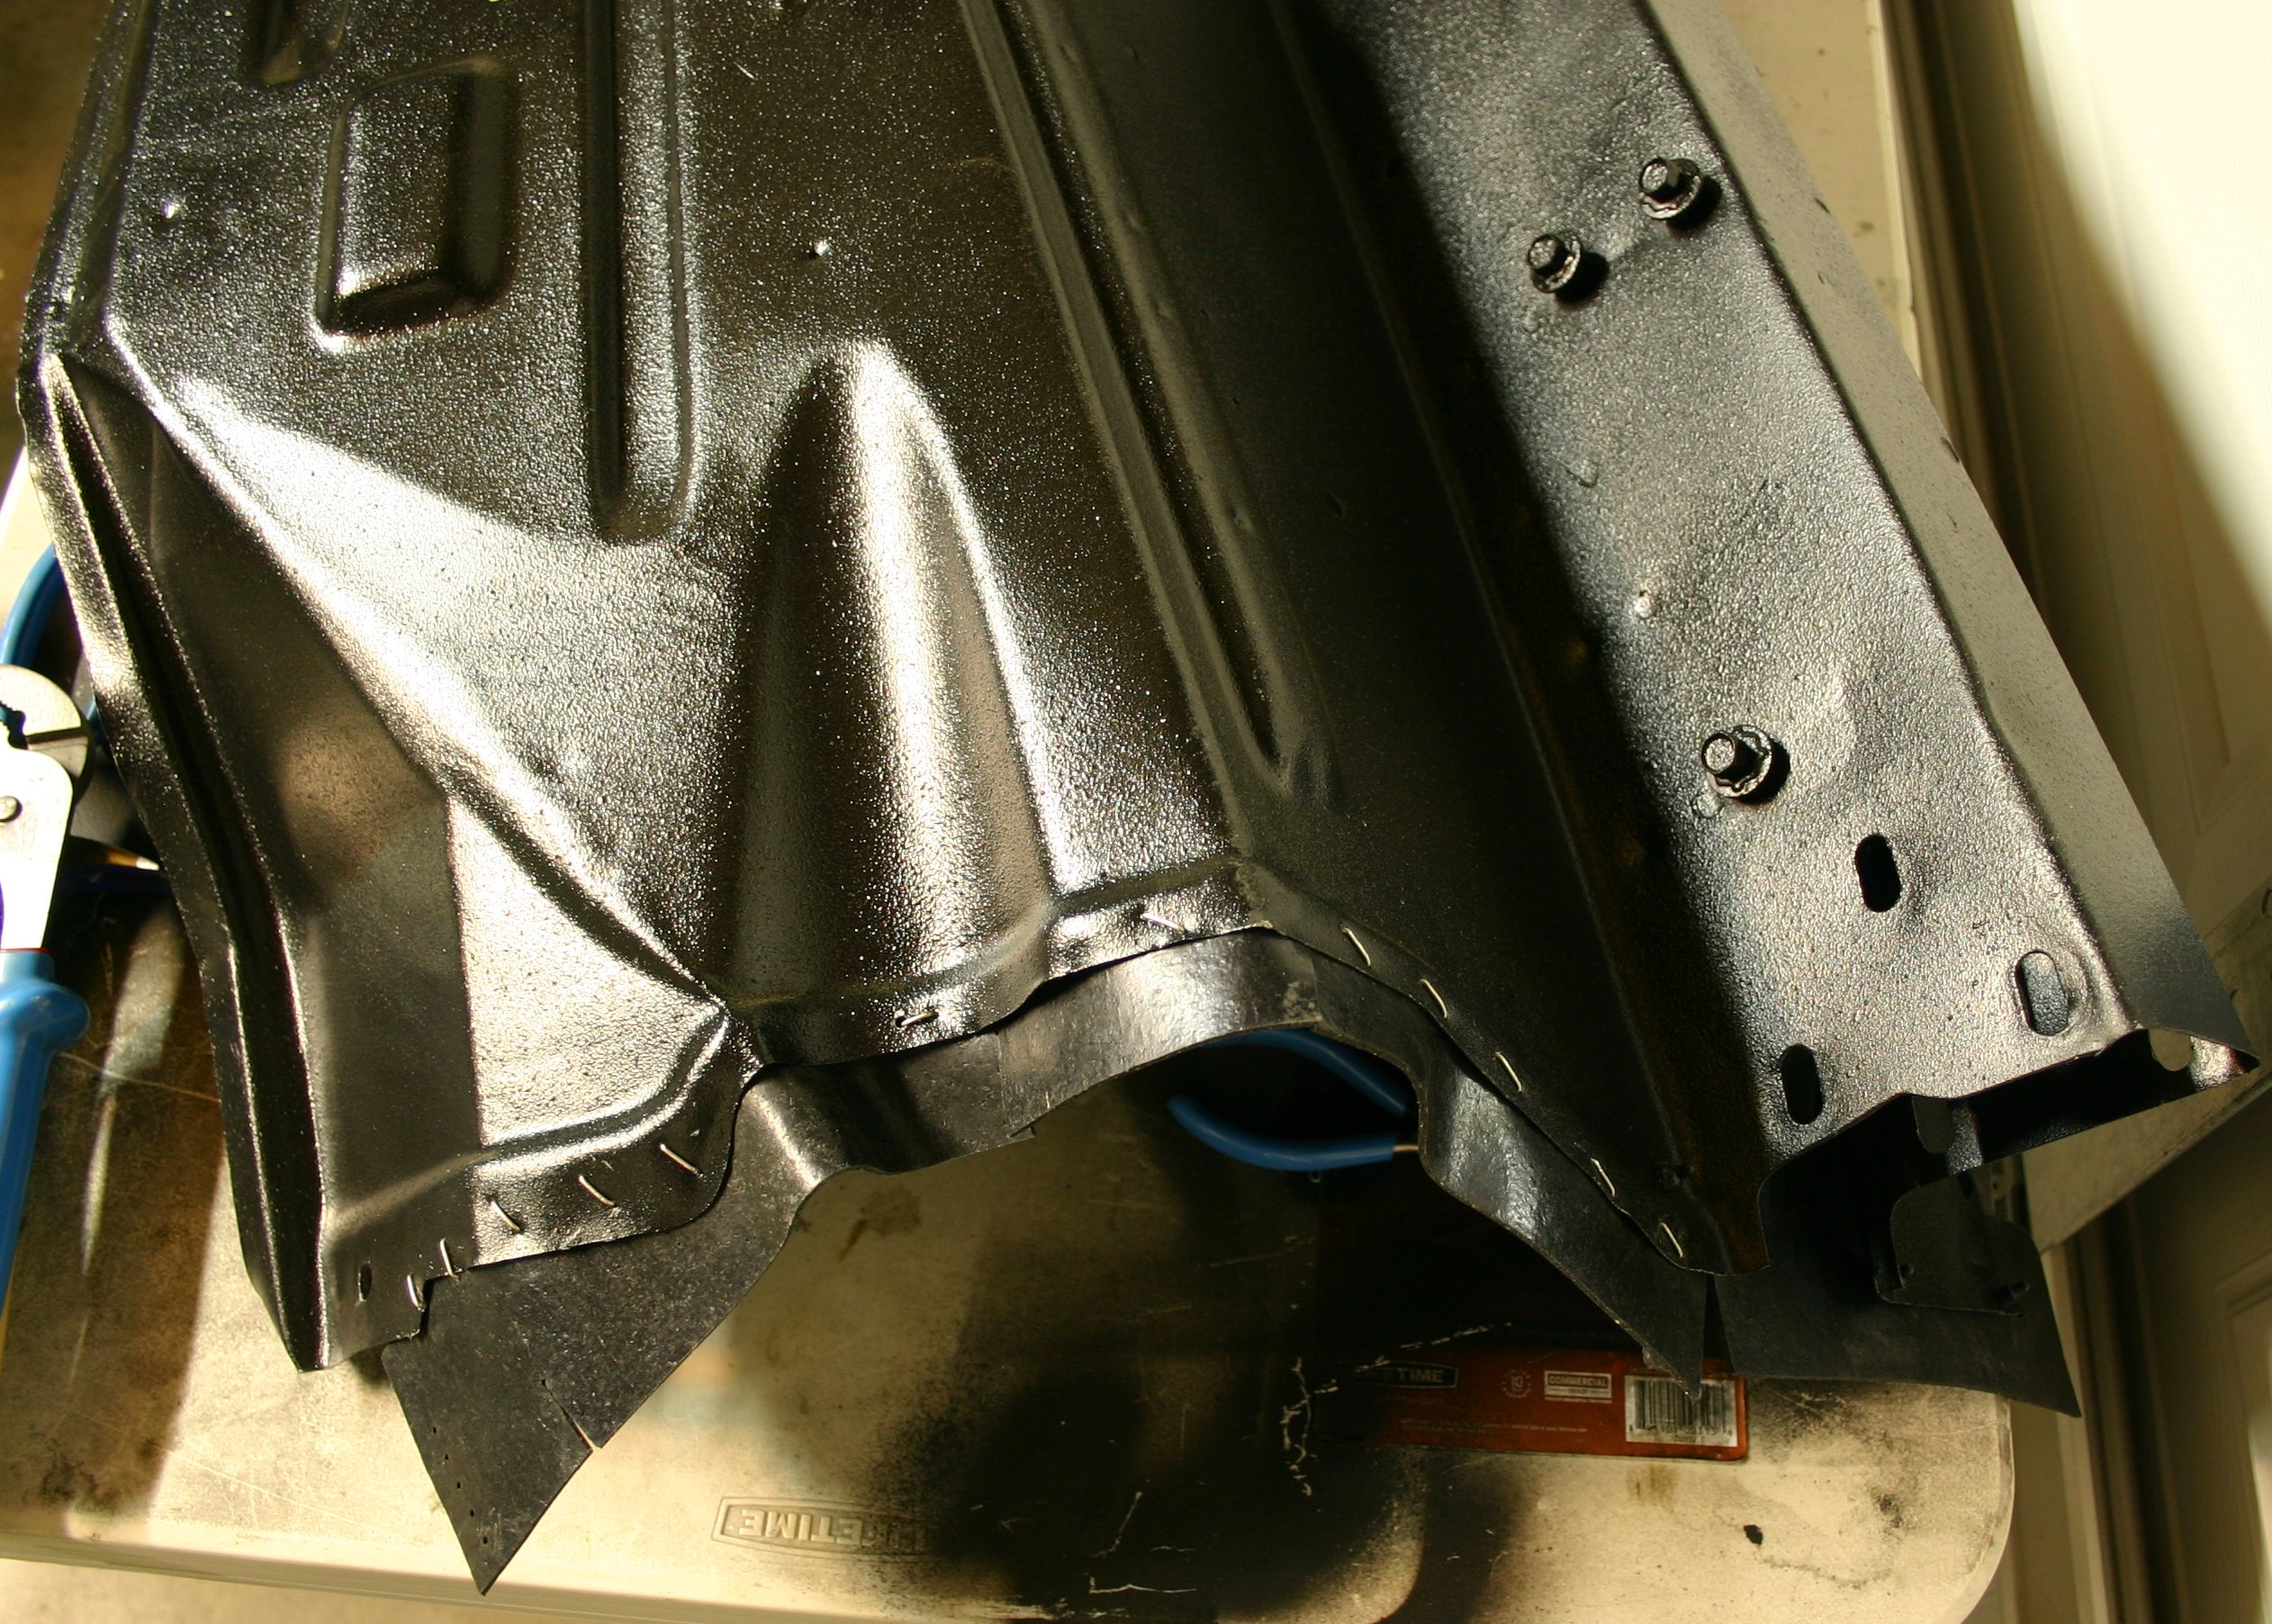
The inside (the side that will show, once the truck is put together), looks a lot better.

Image
http://www.robroygregg.com/Number50/IMG_3997s.JPG

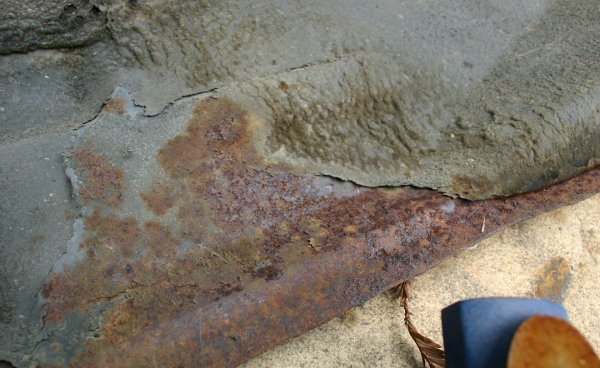
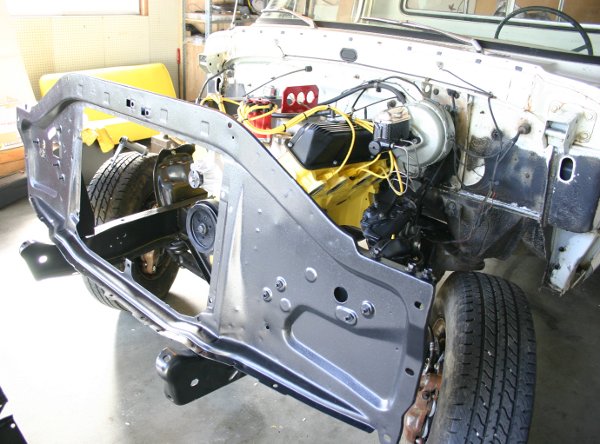
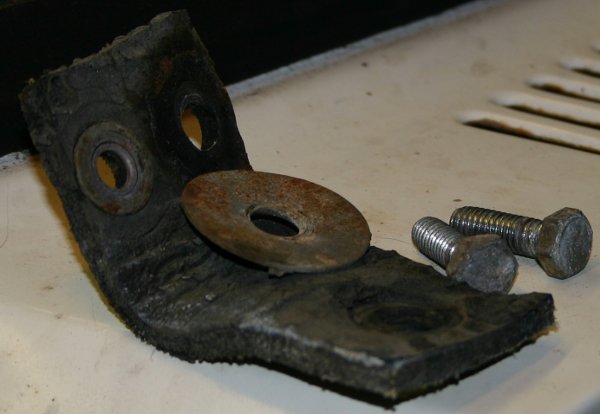
The seal's supposed to bend up like this when the apron's installed, right?

Image

Thanks for reading!
Robroy
Last edited by robroy on Thu Apr 14, 2011 10:54 pm, edited 1 time in total.
User avatar
rjewkes
100% FORDified!
100% FORDified!
Posts: 3711
Joined: Sun Apr 17, 2005 1:09 am
Location: Missouri, Webb City
Contact:

Re: #50's radiator support and inner fenders!

Post by rjewkes »

I beleive so. It'll squash flat against the cab.
"It is better to keep your mouth shut and appear stupid than to open it and remove all doubt." - Mark Twain
'70 f250 4x4 Crew cab 460/C6 '72 F100 390/C6 9.8 MPG AVG. '89 Mercury Cougar LS Dual Exh. V6 . 18.9 MPG AVG. In Town.
Image
I don't want to give em a heart-attack. That is what would happen if I answered the door in the buff. Heck it almost scares me to death when I step out of the shower and look in the mirror.~Mancar1~
fuelly.com
User avatar
robroy
100% FORDified!
100% FORDified!
Posts: 3768
Joined: Sun Jul 06, 2008 4:36 pm
Location: California, Salinas

Re: #50's radiator support and inner fenders!

Post by robroy »

Hey RJewkes, thanks for replying!

This must be why so many of us have multiple Bumpside trucks. As soon as I figure out how to do something, and start to get good at it, the job is done! But with only one truck, I won't have the chance to do this again for a good long while!

I'm experimenting with smashing the apron up against the cab, and trying to allow the seal to move in whatever ways seem most natural. So far, at least the top part of the seal is pressing up against the cab in the way you've indicated is correct.

Thanks again RJewkes!
Robroy
fordman
100% FORDified!
100% FORDified!
Posts: 22329
Joined: Sun Aug 28, 2005 8:17 pm
Location: Kansas, Ottawa
Contact:

Re: #50's radiator support and inner fenders!

Post by fordman »

i think it is suppose to bend downward. not upward. the help protect the water from going up past the rubber. not that water ever got up that high on any of these trucks.
Post Reply