
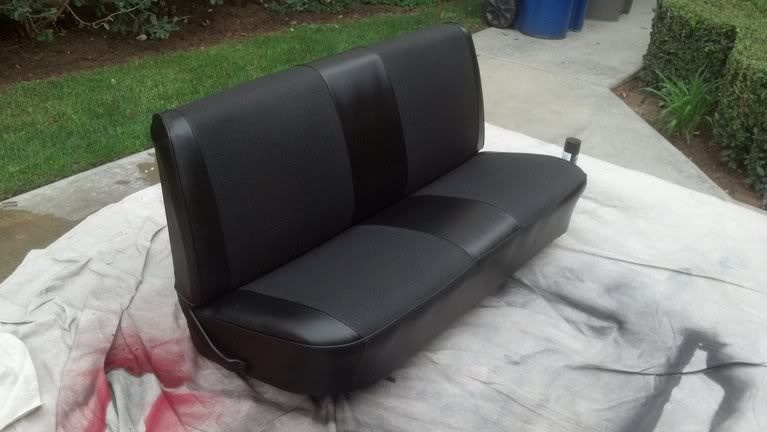
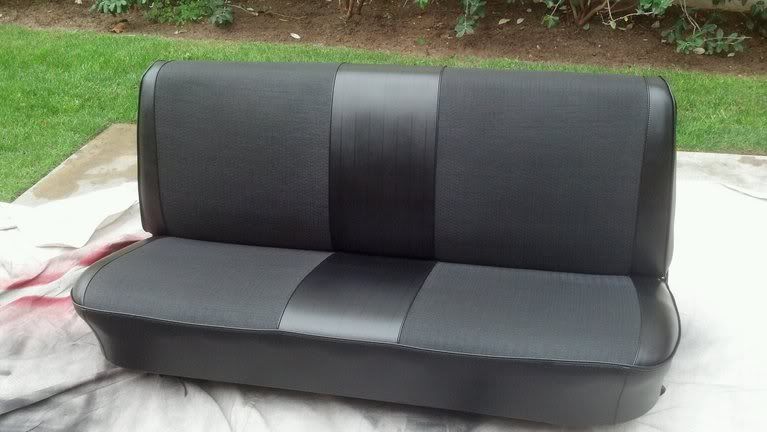
I have not done my seats yet as my truck is still in the shop getting the frame straightened, so I do not have access to my seats right now. My plan is to make the used custom blue seats I bought, flat black. But in the meantime, CNM67 was able to score some buckets seats for his truck from another member here. When we picked up the seats, they were blue vinyl and blue fabric. He is doing a black and white ratrod type of theme with his truck, and wants bright red seats. We figured this is the perfect test of the vinyl paint since it will be red covering blue. We figured the black would cover anything, but the lighter red is a true test for how good this paint might be.
We bought 4 cans of the red vinyl paint to start with and I used 2 cans on each seat. The vinyl covered VERY well, but the fabric takes a little more paint as it absorbs some of the color and the purple we were fearing, shows a little more on the fabric portion. After a 5th can of paint just on the fabic areas, the fabric was red enough to make us happy. Its still a different shade than the vinyl, but the 2 tone look works. Anyway, here are how the seats turned out:
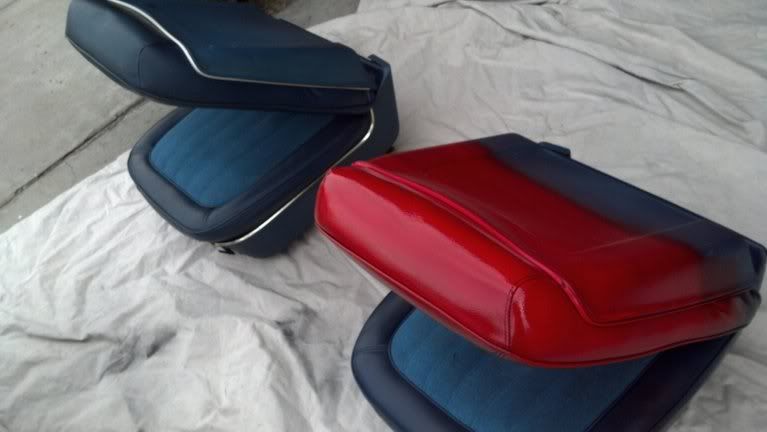
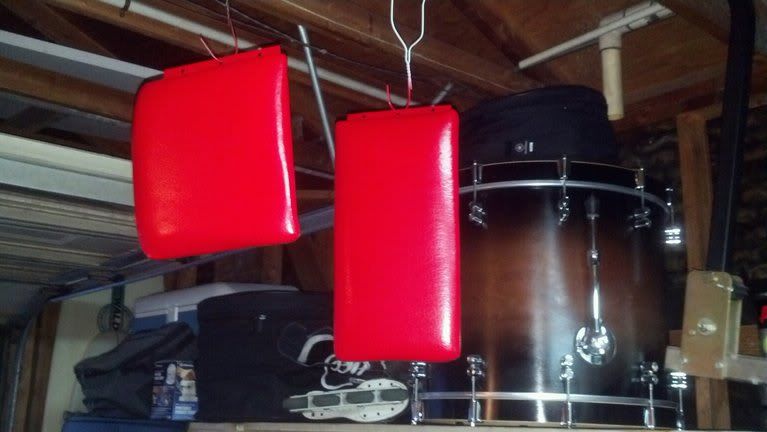
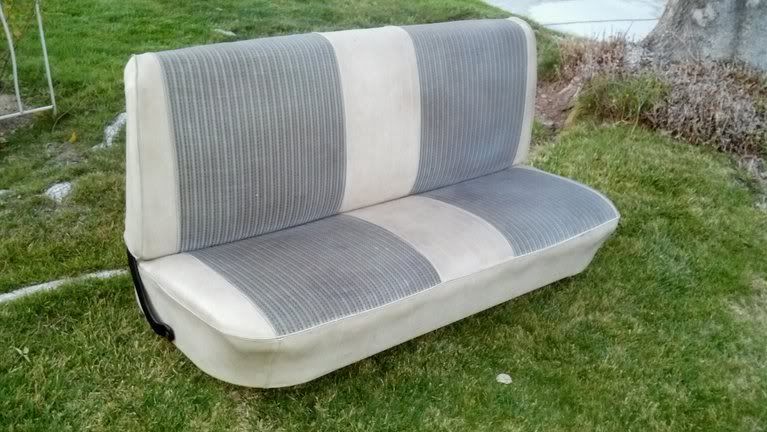
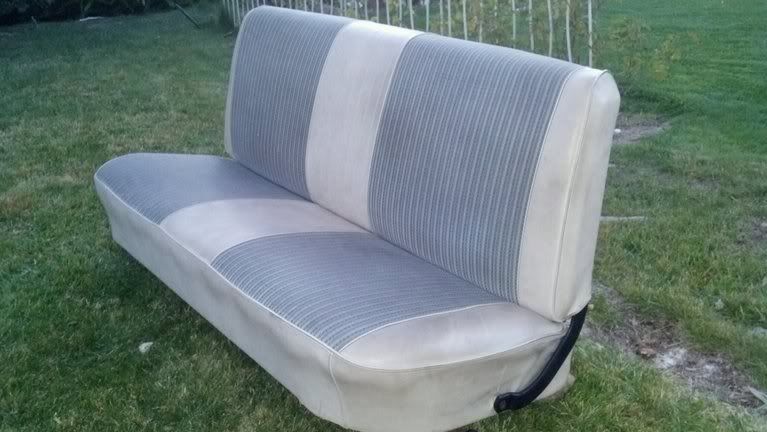
Here, you can see the original blue and then what it looked like once we put the red on it:
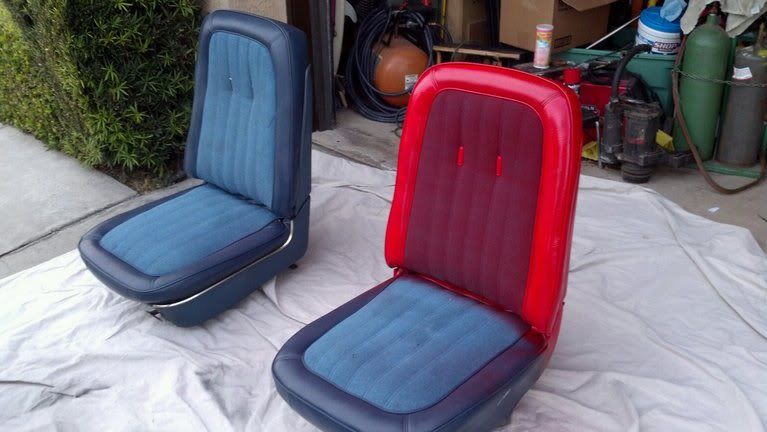
Here is how the fabric looks without multiple coats. The vinyl looks great, but the fabric is not quite red enough, resulting in the purchase of another can:
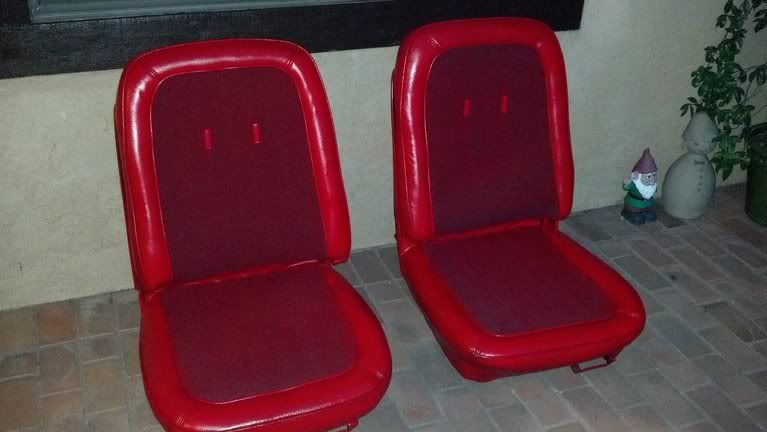
This is after the 5th can on the fabric while it is drying:
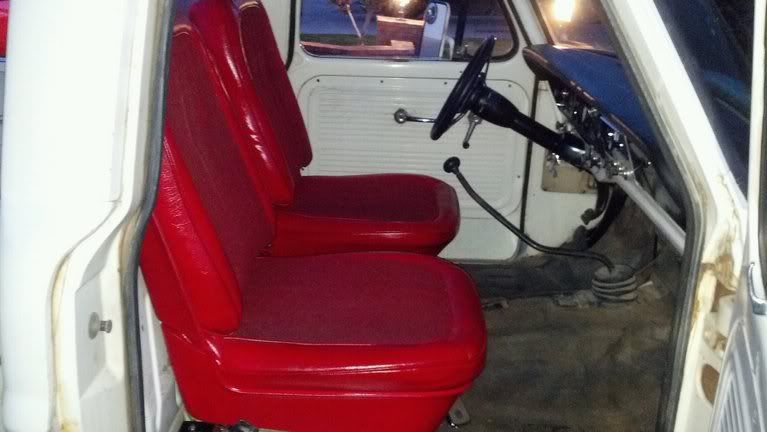
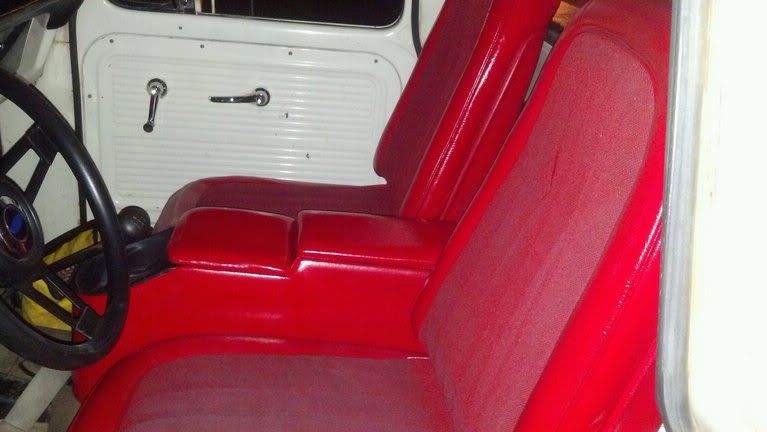
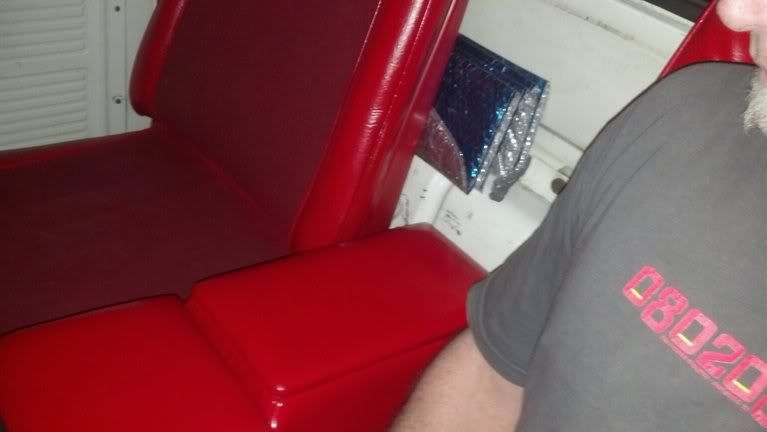
Once installed in the truck:
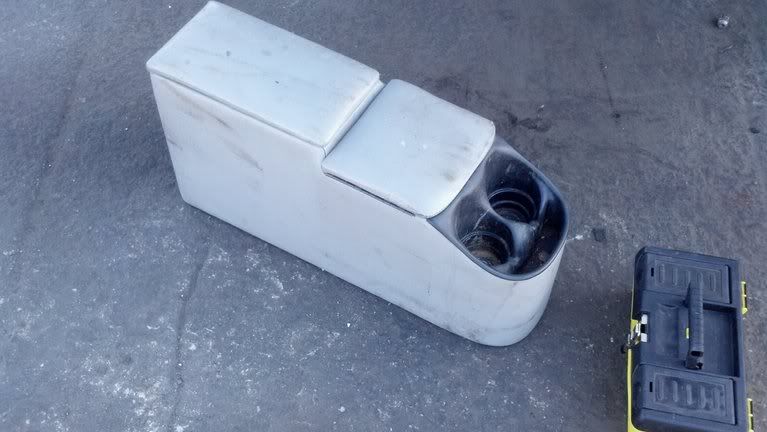
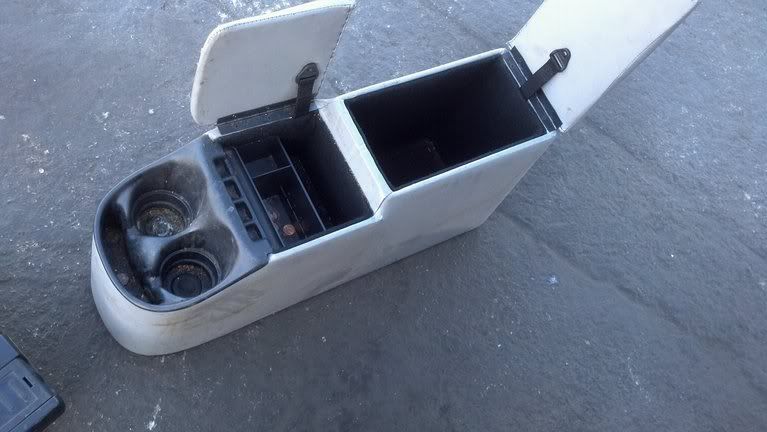
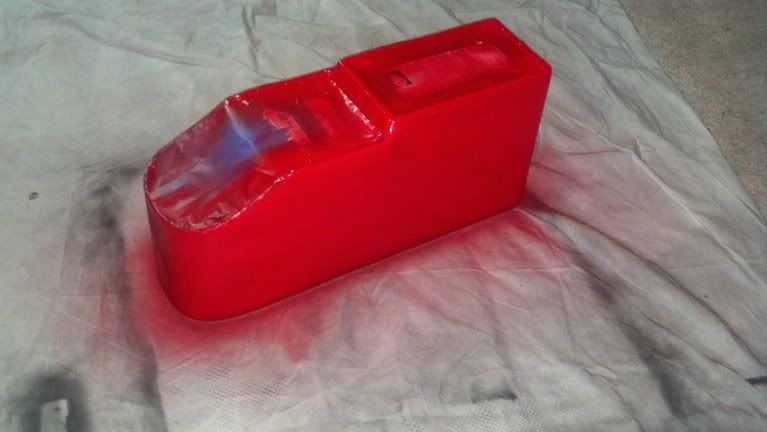
The truck really needed a center console for between the bucket seats. A trip to the pick-a-part resulted in scoring a perfect (yet dirty) center console from a 91 Ford Explorer that was the exact measurements, and flat bottom that we needed:
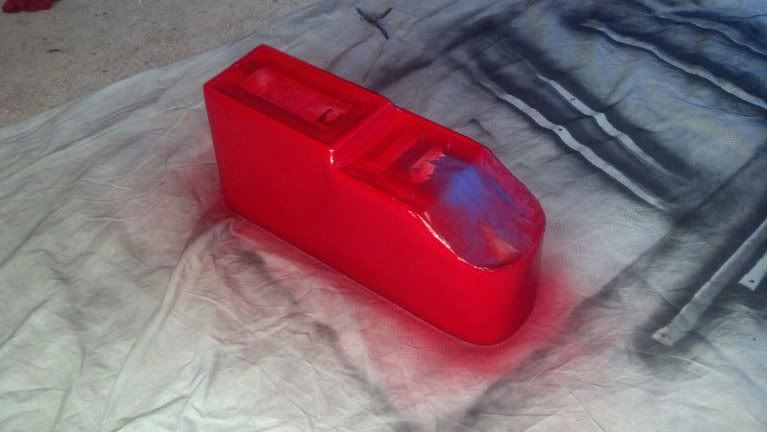
The only thing this center console needed was a good cleaning and another can of red vinyl paint!! :
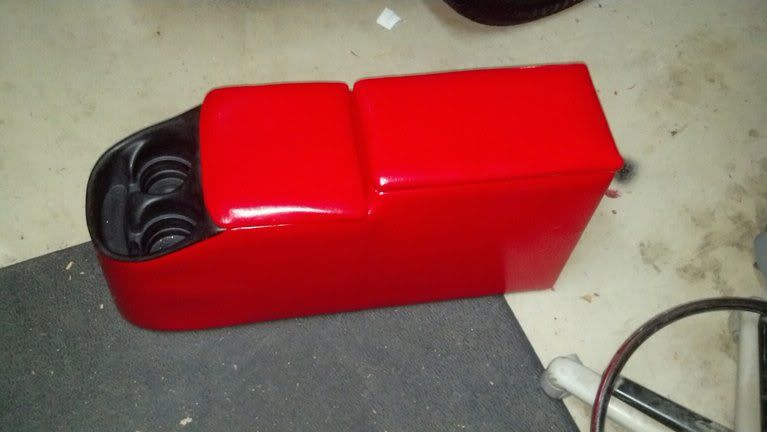
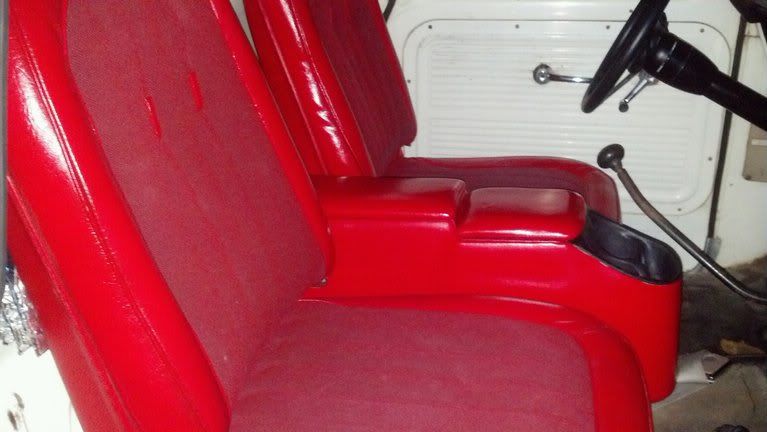
And the final product:
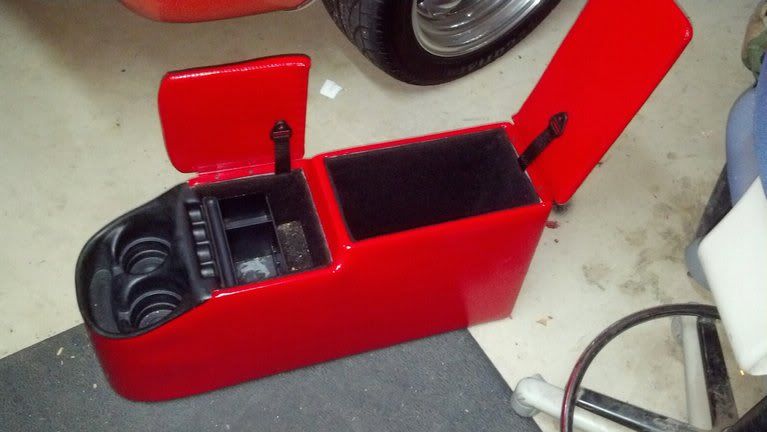
Once installed, it looks like it was meant to be there:
We ended up painting the white sun visors with the flat black and the black vinyl paint covers even better than the red. But I forgot to take pictures of those. I will photo my blue seats to black in my build thread when i get the chance to do those. Point of this thread is to show that the Duplicolor vinyl paint is GREAT and definately the cheaper way to go if you want to make your untorn seats or doorpanels, visors, dashpad, whatever, look brand new!!


